Thank you!
Soon we will answer your question
Uipper wordpress

Getting Started
UIpaper | Blog and Magazine WordPress theme | Documentation

Introduction
UIpaper is a great and minimalistic WordPress theme. Developed a lot of widgets, blocks, dark mode! The template will be constantly filled with new pages
Main Features
Installation
Upload files via FTP
- Unzip the uipaper.zip archive.
- Select the “uipaper” and “uipaper-child” folders, which are the WordPress theme folders.
- Open up your FTP manager and connect to your hosting
- Open wp-content/themes
- Upload the “uipaper” and “uipaper-child” folders to the WordPress themes folder
- Log in to your WordPress and go to Appearance – > Themes
- Your new uipaper theme should be among the default ones. Click Activate uipaper theme.
- Then activate the child theme uipaper-child
WordPress Upload
- Download uipaper from your Themeforest account to your computer.
- Go To your WordPress, then to the Appearance -> Themes -> Add new.

- On the next page select Upload theme

and click Install now button.

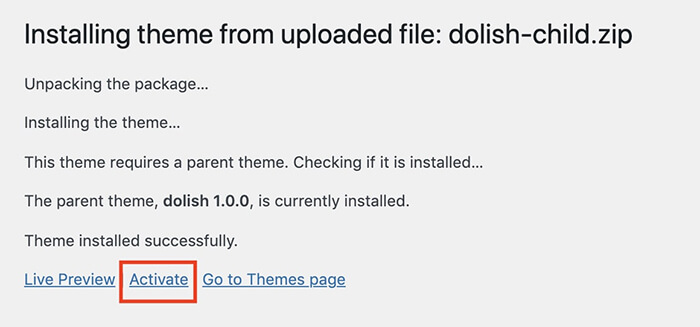
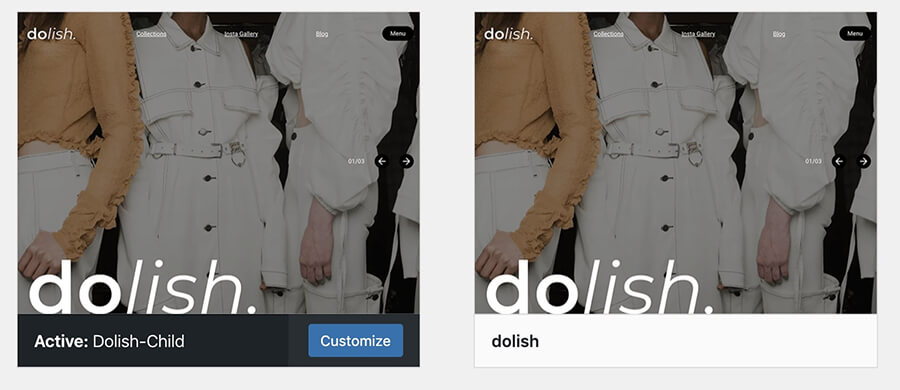
- After successful uploading you will see the messages. Then click activate
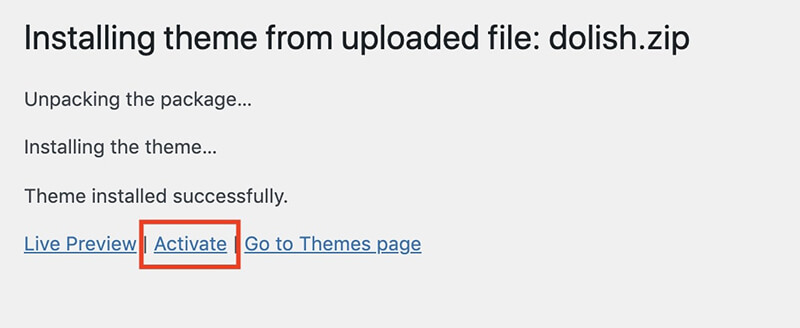
- After activating you have to install plugins for this theme
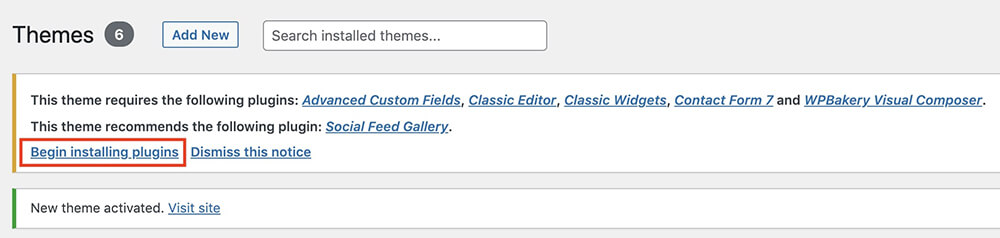
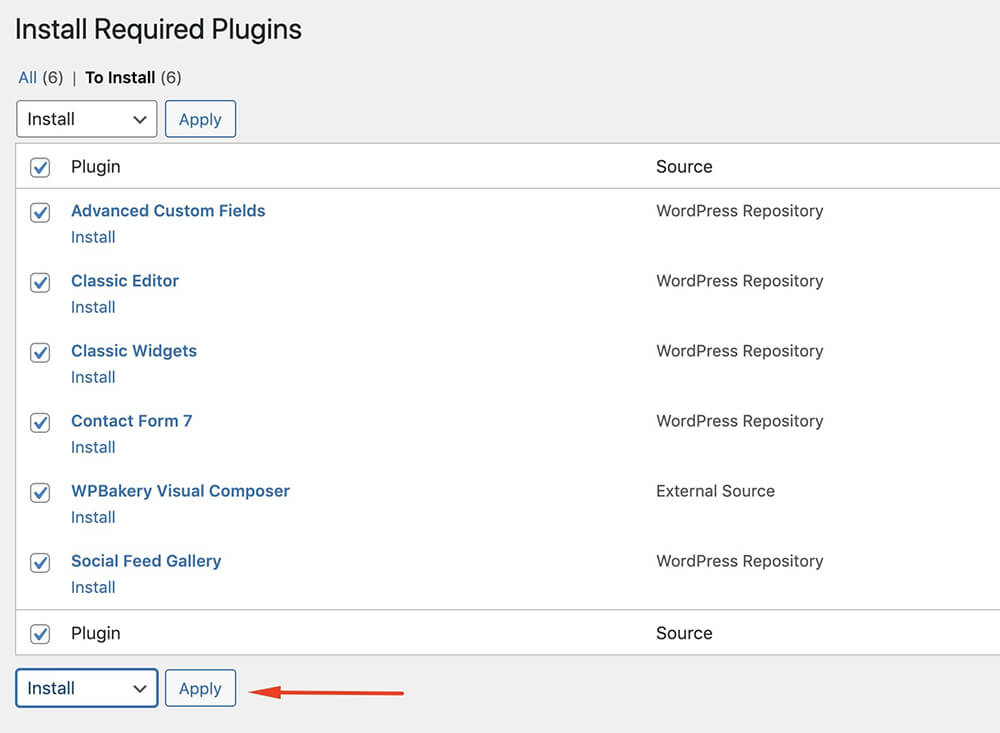
Select all plugins and click Install
After installing go back
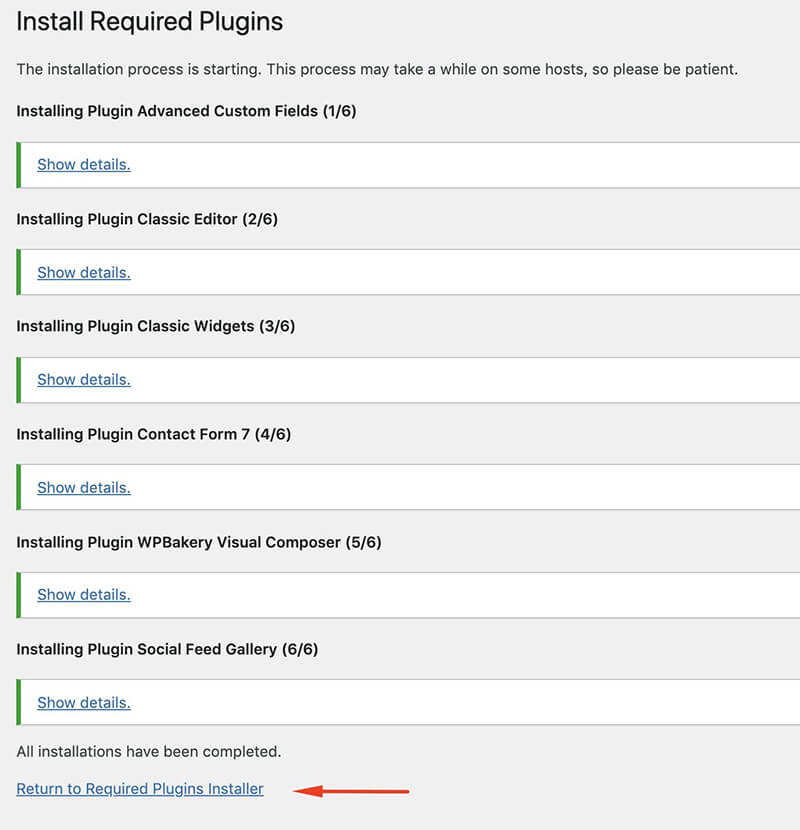
select all plugins and click Activate

- After installing the theme, we recommend to install a child theme uipaper-child (analogically). Repeat 2, 3 and 4 steps
Setting
Importing Demo Content
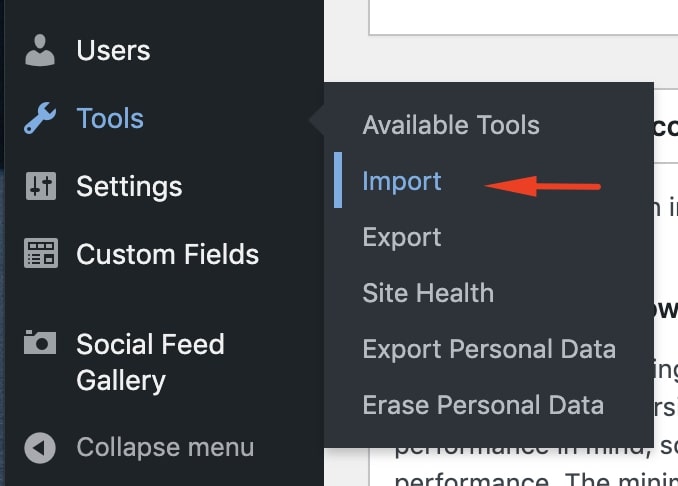
Demo content consists of ready-made entries, pages, and media content as in a live uipaper preview. Installing demo content will allow you to fill the site in accordance with our vision. To do this, go to tools section -> import WordPress, if necessary, install the WordPress importer plugin.
Then upload a special file content.xml. It is located in the demo-data folder. Import the file and don’t forget to activate checkbox for Download and import file attachments.
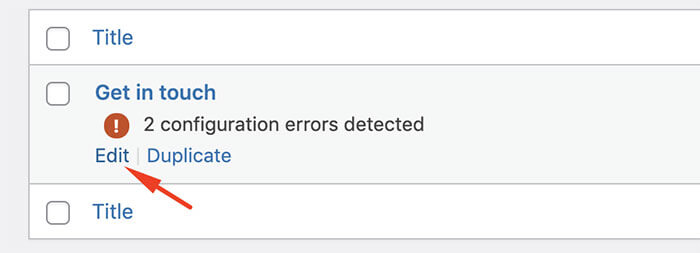
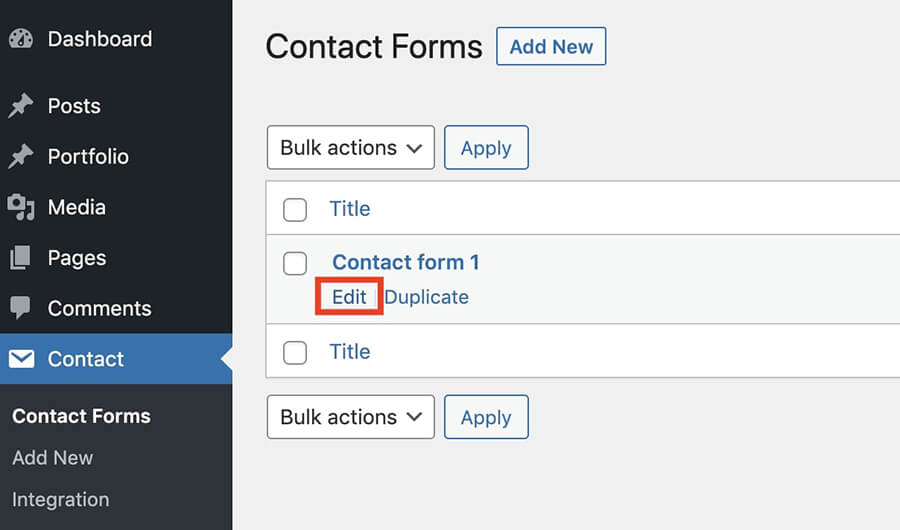
After import, you have to set up your contact form. To do this, go to the contact form tab -> edit the form, the mail tab, and specify your email and the domain of your site.
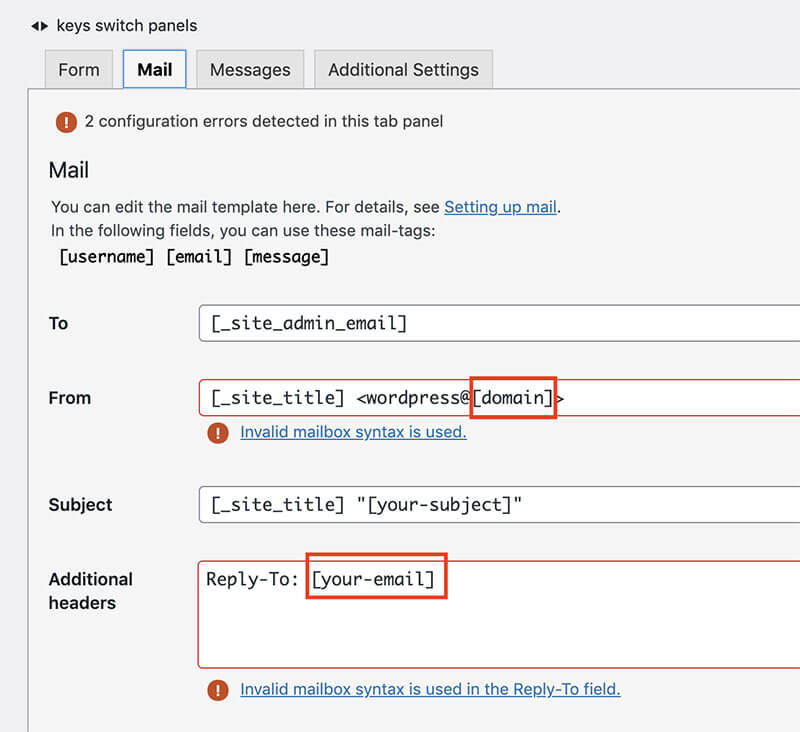
Don’t forget save your settings!
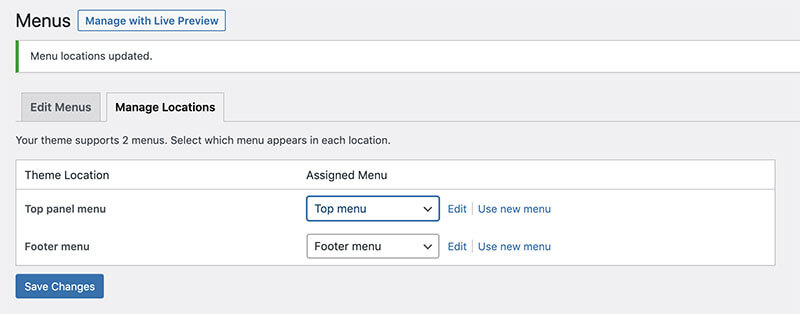
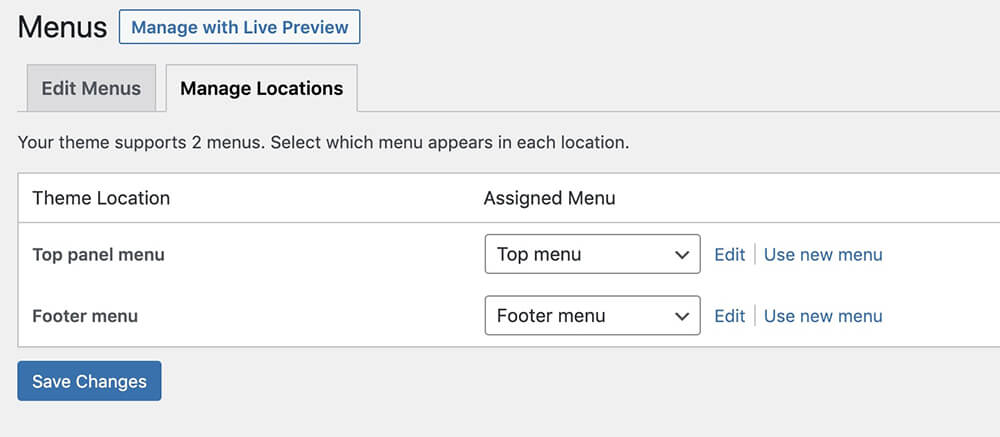
After import, you have to set up your menu. To do this, go to the Appearance tab -> Menus, the Manage locations tab, and set the menu according to the scopes.
Site mode setting
To set the dark or light mode of the site, go to the “Theme Options” tab:

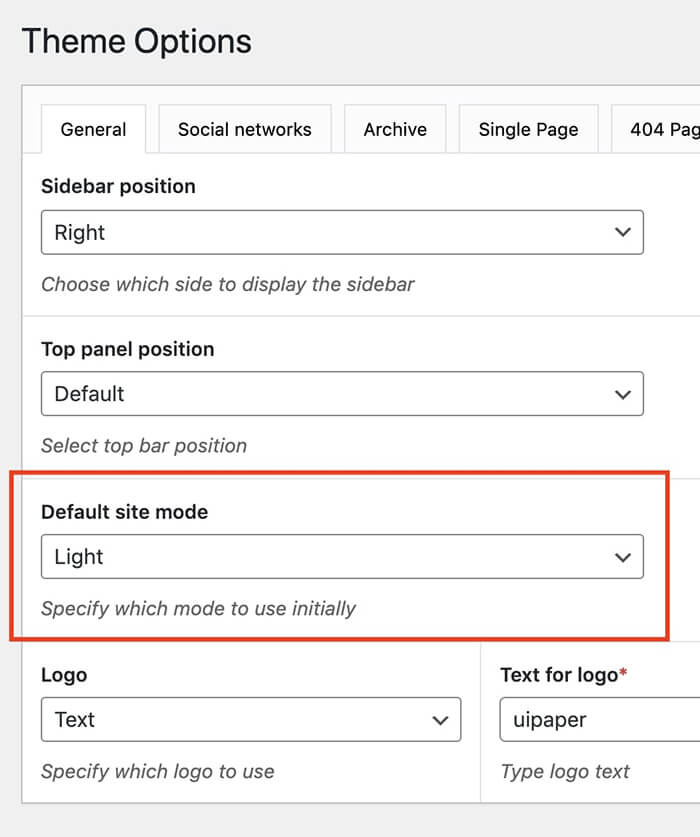
Select the default mode. You can also turn off mode control. To do this, select disabled and set which mode to leave.
Logo setting
The logo can be used with text or with an image. We recommend using text.
To manage the logo, go to the theme options and select the logo. When choosing a logo with a image, you should load two logos for dark and light mode.
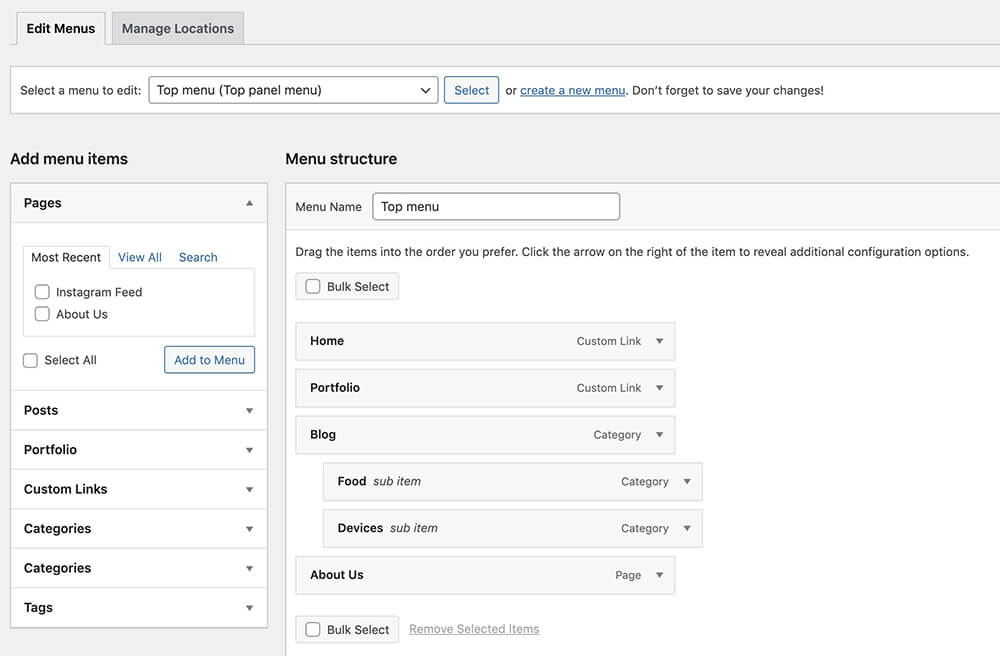
Configuring menu
There are two menus in the theme:
Top menu:

Footer menu:

For example if you want to edit top menu, you have to Appearance -> Menus and select Top menu
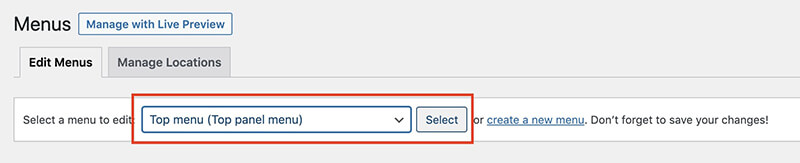
and edit it.
After editing you have to save setting
Configuring contact form
For forms in the theme the contact form plugin is used.
To configure it go to the contact tab and click edit
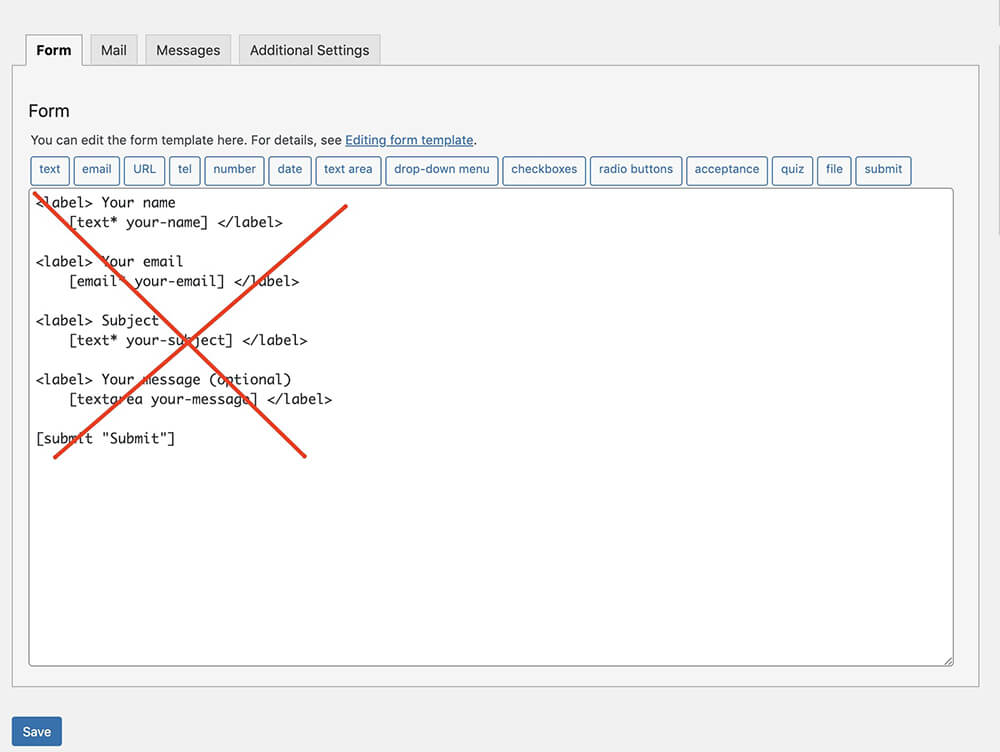
If you did data import, then you do not need to do any action.
If you did not import data remove all in code editor and insert the code from file contact-form-code.txt in the theme archive:
<div class="input-wrap name-field">
[text* username class:input placeholder "Name"]
</div>
<div class="input-wrap email-field">
[email* email class:input placeholder "Email"]
</div>
<div class="input-wrap textarea-wrap">
[textarea* message class:input class:textarea placeholder "Your message"]
</div>
[submit class:btn class:submit-btn "Send Message"]
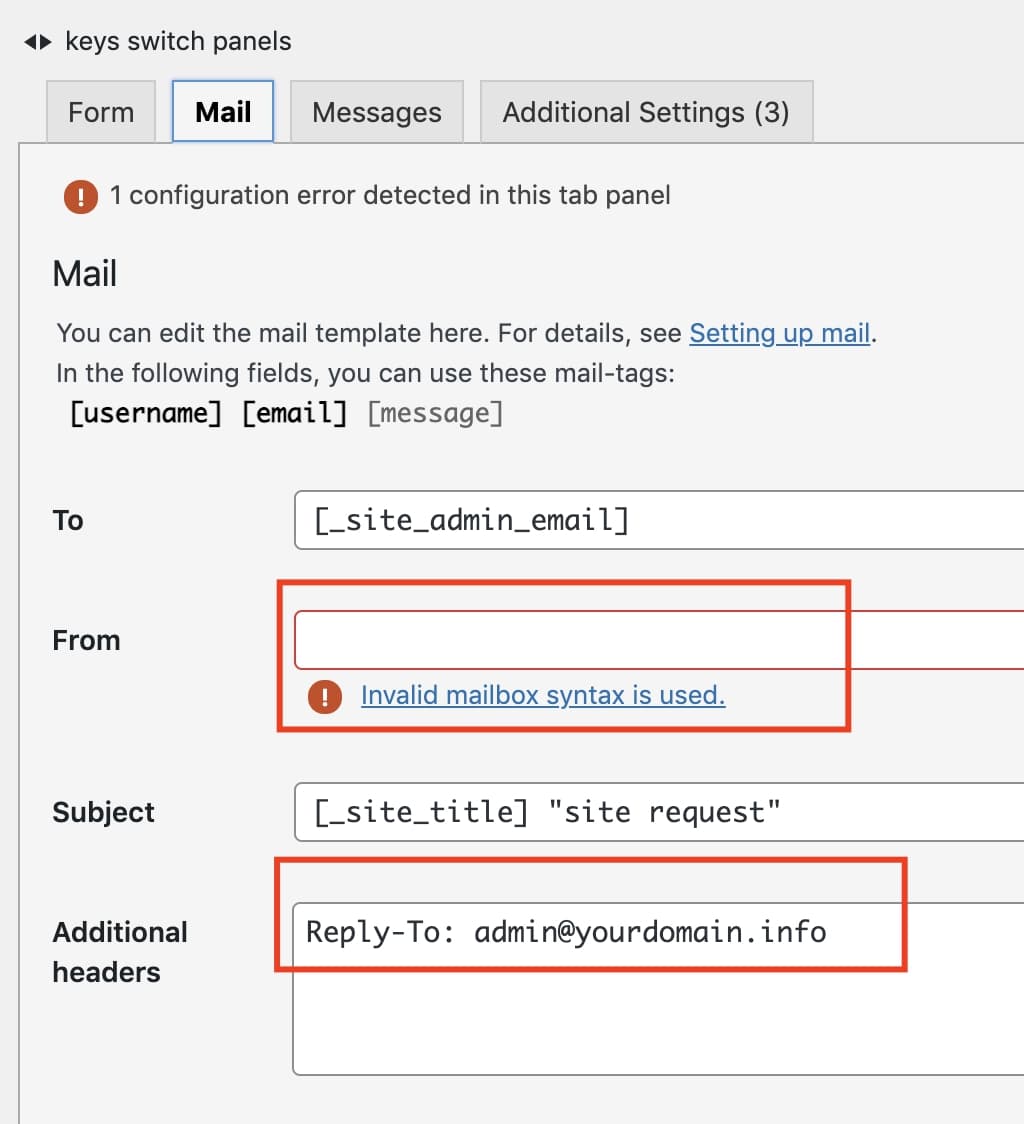
Don’t forget to include your parameters in the From and Additional headers fields:
If you will use Flamingo plugin, your have to add the code in Additional Settings tab:
flamingo_email: "[email]"
flamingo_name: "[username]"
flamingo_subject: "[message]"
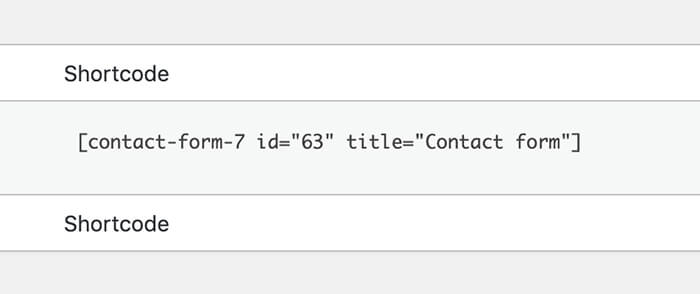
In the future we will use the shortcode that we received:
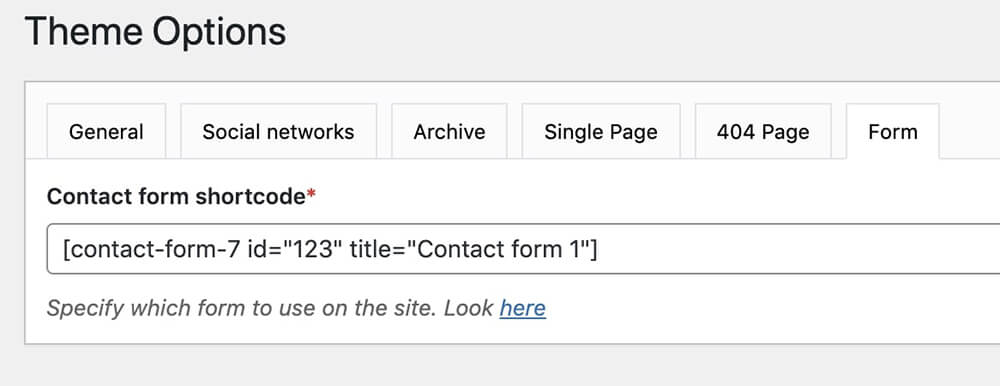
After receiving the shortcode, you need to set it in the theme settings as the default form. To do this, go to the theme options, select the form tab and paste the shortcode of your form into the field:
Configuring Instagram Feed
To set up Instagram, go to Social Feed Gallery -> Accounts
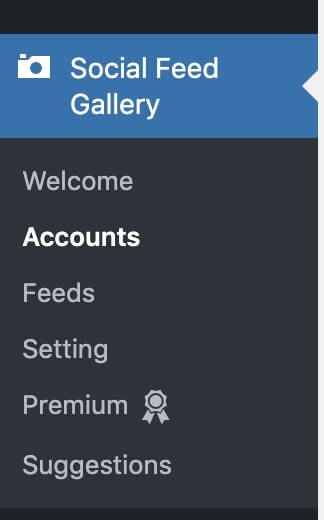
Then click Add personal Account
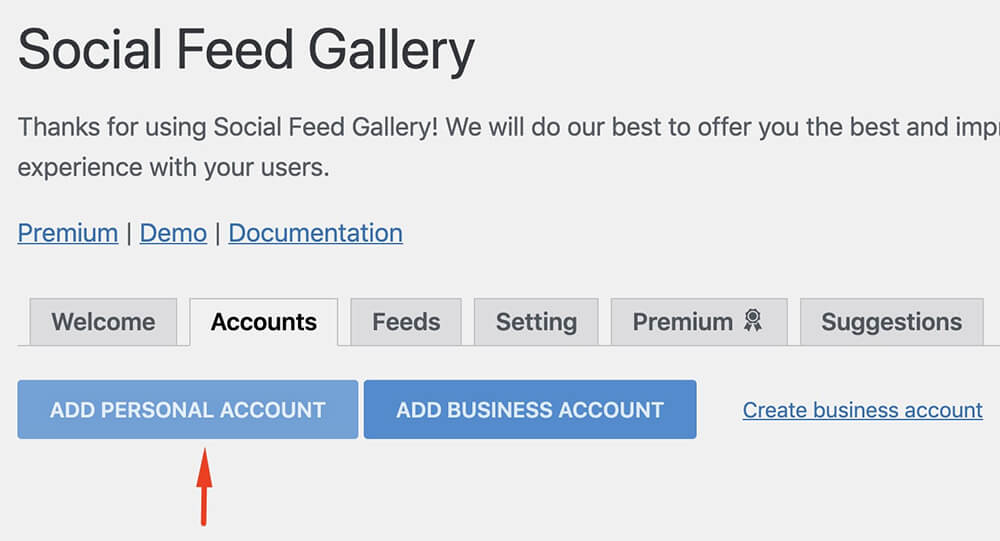
You will be redirected to the Instagram confirmation page, and you must click Allow.
Then you will be taken back and you will have your profile account created.

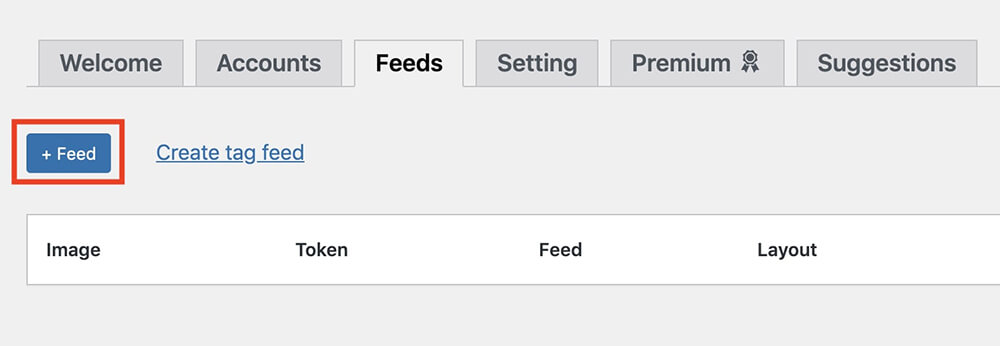
Then go to Feed tab and click +Feed
We recommend set 10 posts and 2 columns
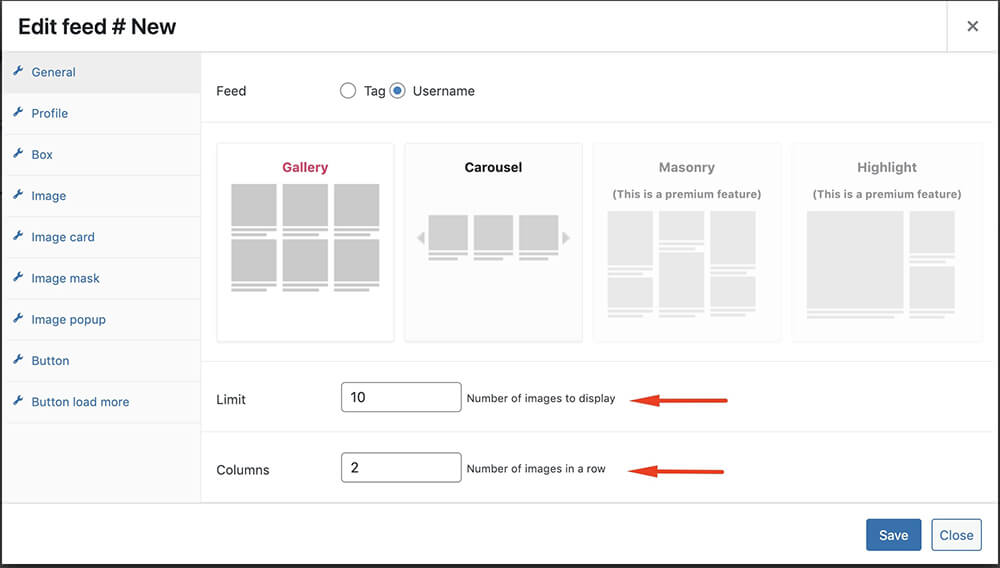
Click save.
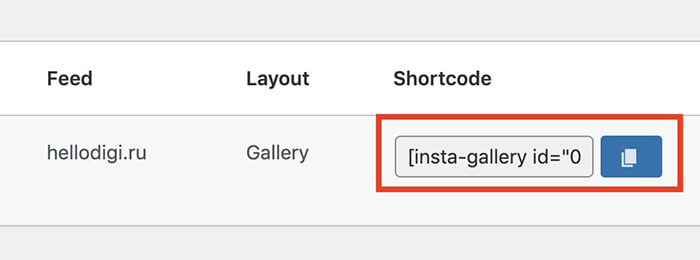
In the future we will use the shortcode that we received:
Favicon Image
To set the favicon, go to the Customizer -> Site Identity -> Site Icon
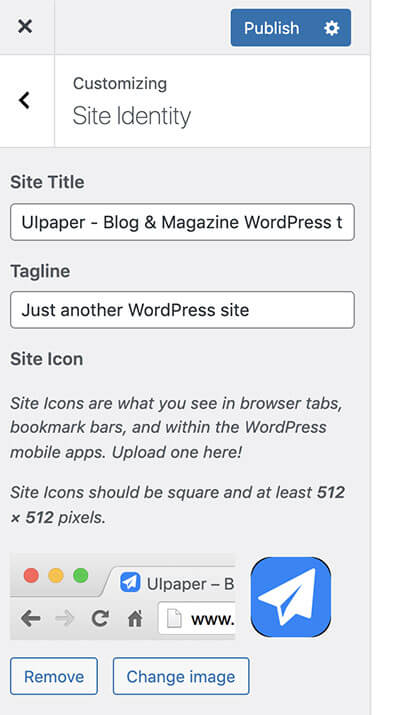
After change click publish button.
Creating Content
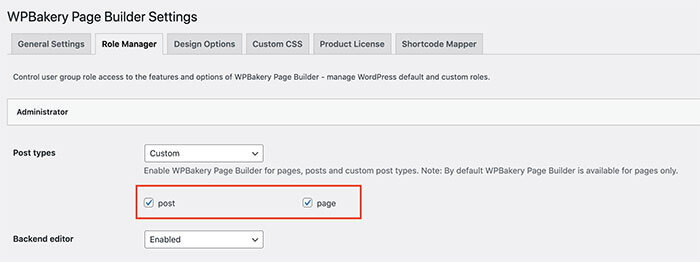
Before working with content, go to the WP Backery plugin settings and make sure that it is enabled for posts and pages:
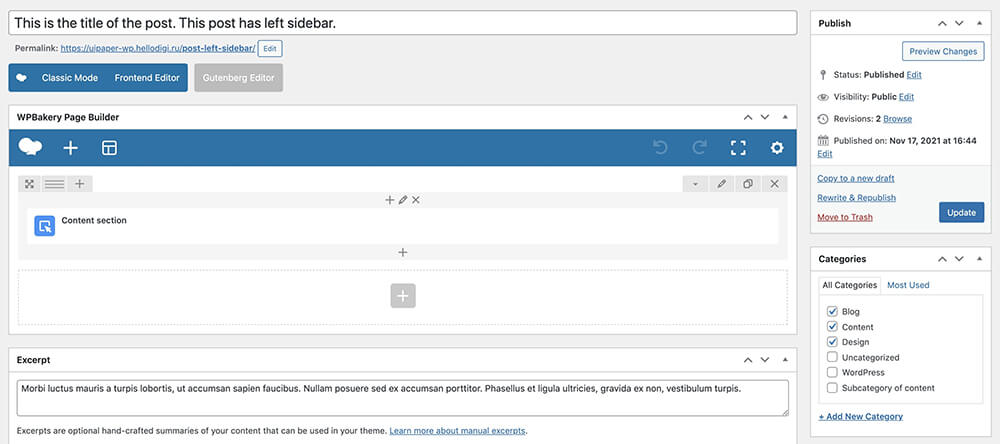
Posts
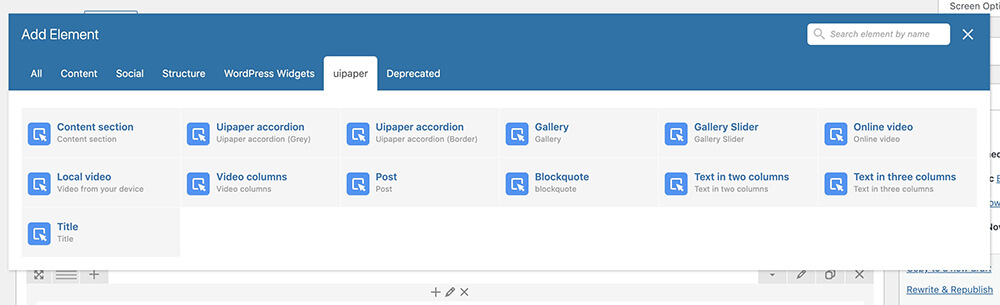
For the post editor, we use the backend editor of the WP Backery plugin
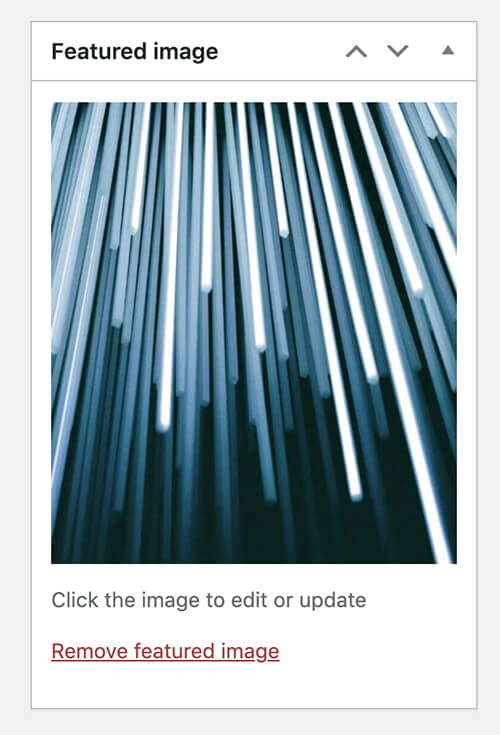
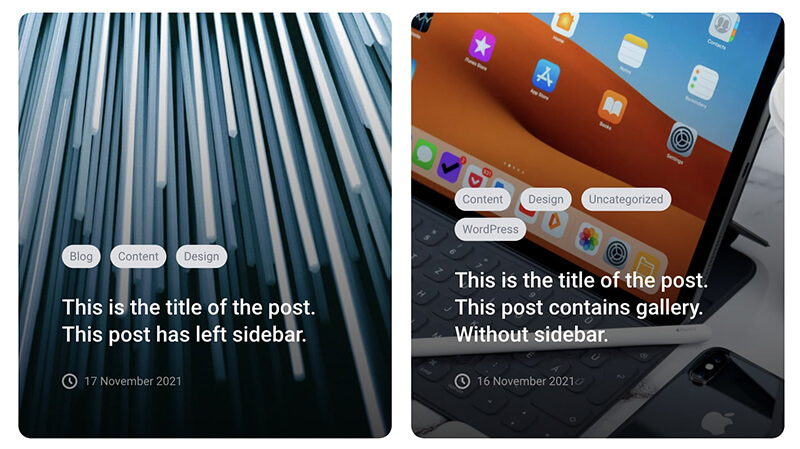
Featured image is an image which used as preview image in posts list
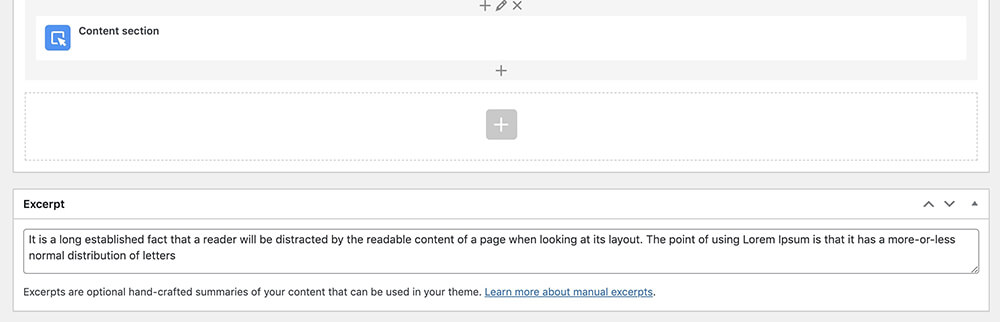
For displaying a short description of the post, use the Excerpt field in the post settings:
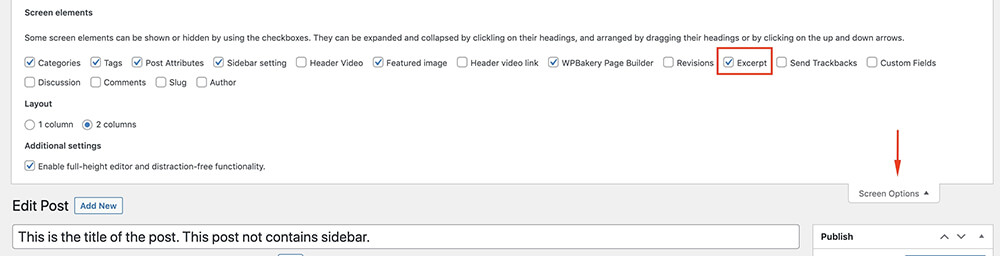
Make sure that this field is displayed, to do this, enable it in the screen options:
Sections
Section names and their appearance
Credits
Images and video previews
All of our base photos come from the following stock
photography sites:
http://unsplash.com/
https://gifer.com
https://icons8.com/
Note: Demo images are not included, instead placeholder images are used.
Video
https://www.pexels.com
https://www.youtube.com/watch?v=F5e9rZg0CjI
https://vimeo.com/281532045
Fonts
Google Fonts Roboto
https://fonts.google.com/specimen/Roboto
Scripts
jQuery http://jquery.com/
jQuery UI https://jqueryui.com/
Slick.js slider http://kenwheeler.github.io/slick/
Device.js https://github.com/matthewhudson/current-device
lightGallery.js https://sachinchoolur.github.io/lightGallery/
jQuery Mousewheel https://github.com/jquery/jquery-mousewheel
jQuery placeholder label https://github.com/fnordo/jquery.placeholder-label
Plugins
WPBakery page builder
https://wpbakery.com/
This theme uses a non-active version of the plugin. If you want to receive plugin updates, you need to activate the plugin.
Carbon Fields
https://carbonfields.net/
Classic Editor
https://wordpress.org/plugins/classic-editor/
Classic Widgets
https://wordpress.org/plugins/classic-widgets/
Contact Form 7
https://contactform7.com/
Flamingo
https://wordpress.org/plugins/flamingo/
Social Feed Gallery
https://quadlayers.com/portfolio/instagram-feed-gallery/
Changelog
Date of publication
…