Thank you!
Soon we will answer your question
Ontold HTML
Getting Started
Ontold HTML Template | Documentation
Introduction
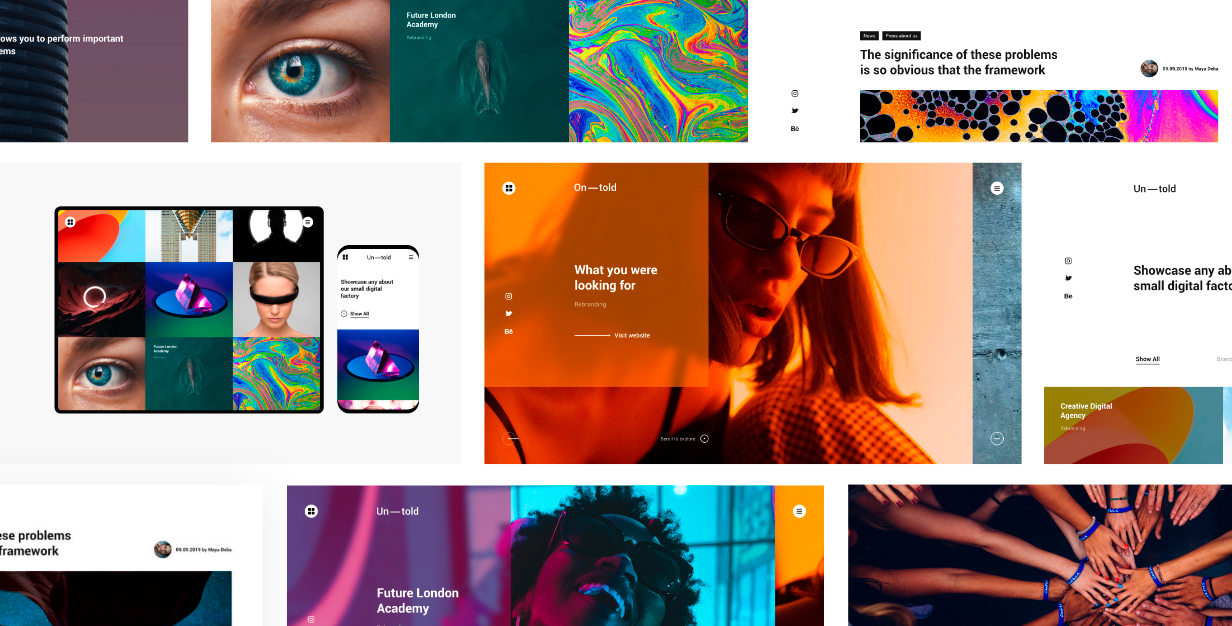
Creative Digital Agency HTML Template. It is clean, modern and simple template that was built for designers, photographers, fashion agencies, freelancers and all creative folks. Careful! Clings from the first second!
Note: The images and videos used on the demo site are for demonstration purposes only and are not included in the download file..
Note: This is a HTML Template. Not a WordPress Theme. You can download the WordPress version here
Main Features
The project:
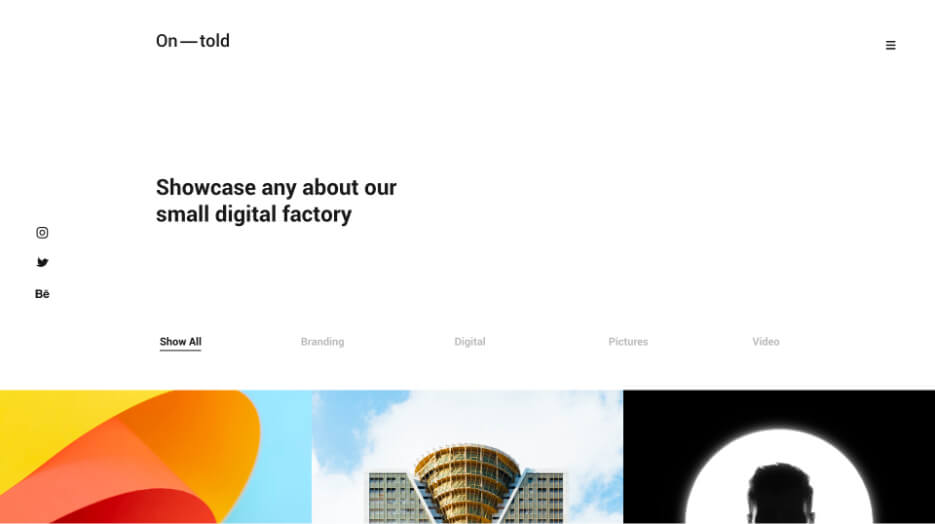
Home
Showcase
Case
Services
About us
Blog
Article
Creative menu
Feedback form
Subscribe to newsletter form
Preloader
HTML5 and CSS 3
Clean, Creative, Modern & Beautiful Design
LESS
Fully Responsive, Compatible with all screen sizes
Well Organized Files
Well Commented Code
Easy Customization
Major Browsers compatibility
Well Documented
Google Fonts Used
Integrated Google Maps
W3C Valid Markup
Integrated Custom Image and video Slider
24/7 Friendly & Quick Support
And Much More
Required Software
Text Editor
To modify this product you will require a text editor. There are a wide range of softwares out there that will do the trick but we would recommend Sumblime Text or Coda 2.
Installation
Follow the steps below to setup your site template:
1. Unzip the downloaded package and open the /HTML folder to find all the template files. You will need to upload these files to your hosting web server using FTP in order to use it on your website.
FTP Client
To publish your website you will need an FTP client which is a software that will allow you to connect to and upload the HTML files to your server. We would recommend using something like FileZilla.
Connect Using FTP
In order to connect to your server using an FTP client you’ll need the following information:
- Host URL
- Username
- Password
Most hosts create an FTP account for you and commonly send out the above details in the welcome email when you sign up for a hosting plan. Others, require you to create an FTP account through your cPanel. If you have never set up an FTP account before, your host should be able to do this for you and answer any questions you may have.
Connecting using FTP
Below is an example of the FileZilla interface:
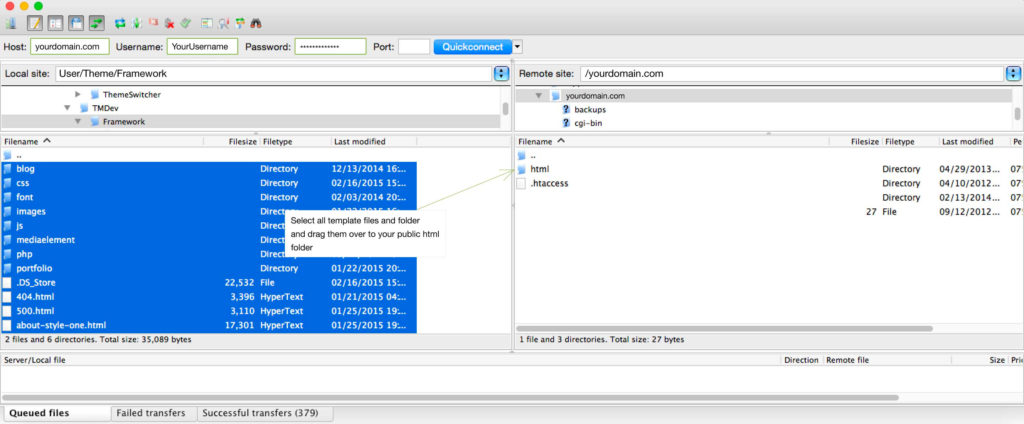
2. Below is the folder structure and needs to be uploaded to your website root directory:
- HTML/css. – Stylesheet files
- HTML .ico/.png – Favicon
- HTML/img. – Image files
- HTML/js. – Javacript files
- HTML/video. – Video files
3. You should upload all or specific HTML files as per your need.
4. You’re now good to go..! Start adding your content/images and generate your beautiful brand new website for your awesome users.
Logo Settings
The Logo is set as a background-image for .top_panel a
![]()
<div class="top_panel">
    <a href="/" class="logo"></a>
</div>
Note: Three images are used for the logo, one for the default logo (white logo / dark page) and second for alternate logo on a white page (black logo).
The third logo is used on the preloader page
Image & Favicon Settings
Image Settings
Ontold download package does not contain images which are there in our online demo. We are using placeholder images instead of real images. You will see the image code as mentioned below. You can replace placeholder image url with your image url like img/yourimage.jpg
<img src="image path" alt="image alt text">
Favicon Settings
To change the favicon image of your site, you need to load a new ICO image in a site root or to point out a new address of the image.
<!-- favicon -->
<link rel="shortcut icon" href="favicon.png" type="image/x-icon">
<link rel="icon" href="favicon.png" type="image/x-icon">
Changing Fonts
Ontold uses 1 fonts: Roboto from the Google Fonts Library.
<!-- Google font -->
<link href="https://fonts.googleapis.com/css?family=Roboto:400,500,500i,700&display=swap&subset=cyrillic" rel="stylesheet">
Edit Pages
Home page Slider
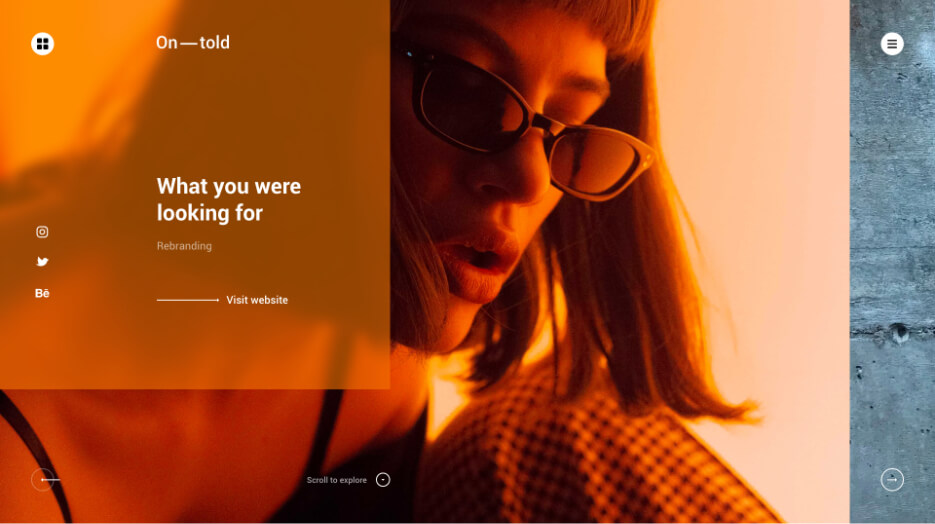
Each slide has a class .slide. To add a slide, you need to add a new block with a class .slide. Each slide has a block with a class .bg_color, in which the attribute is registered with the background color. This color is used to darken the content of the slide.
For a slide with a video you need to use the class .video-slide. The video slide must have an attribute data-background, which contains the path to the image that is displayed on mobile devices when the video is disabled.
The image for the slide .slide is set through style=”background-image: url()”,where the url should specify the path to the image.
Portfolio
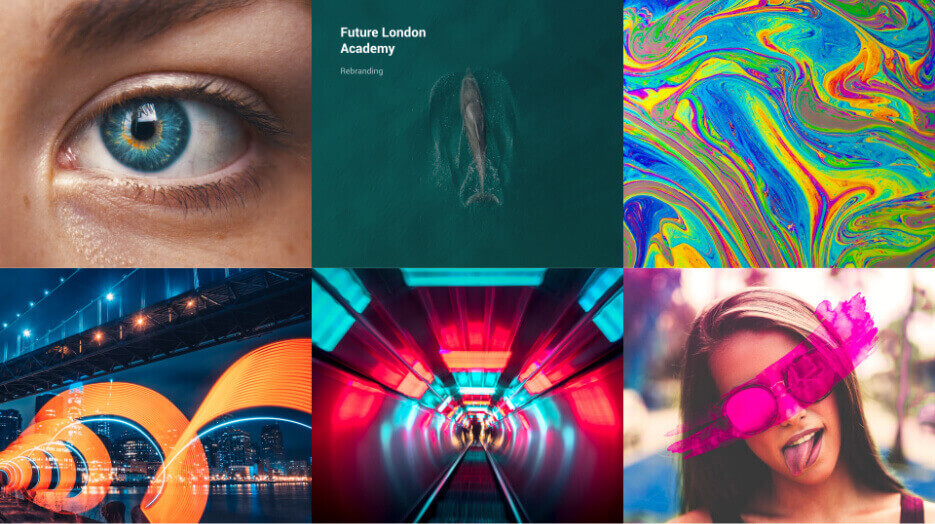
Images in portfolio entries .portfolio.item are set via background-image for the block .img
Contact form
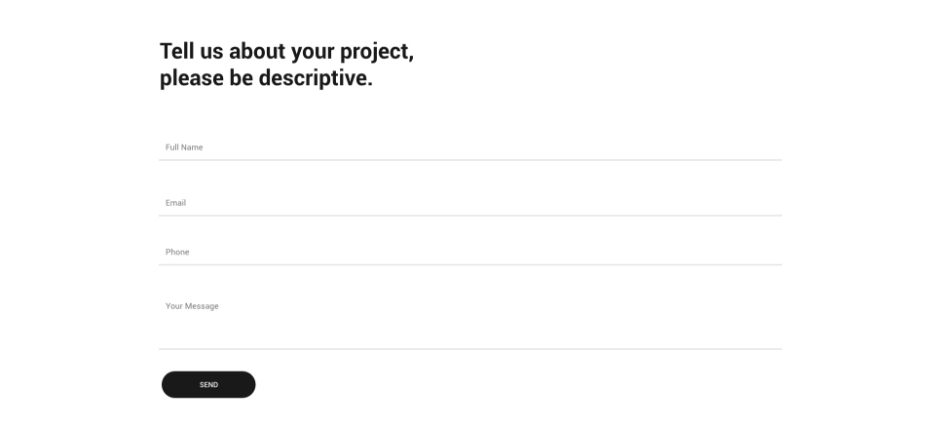
The actions of the button when sending are described in file scripts.js starting from line 272 (for programming)
Form in modal window

The actions of the button when sending are described in file scripts.js starting from line 331 (for programming)
Showcase Page
The page contains switchers and associated whith them blocks. The switches are in the block .tabs-section.
Note: when you add or remove a new switch, you must do so in two blocks: .tabs and .js-mobile-select
.js-mobile-select – switch for mobile devices, connected to the main switch
div#portfolio contains the contents of the tabs. Number of switches and bloks .portfolio-block must match
Blog pages
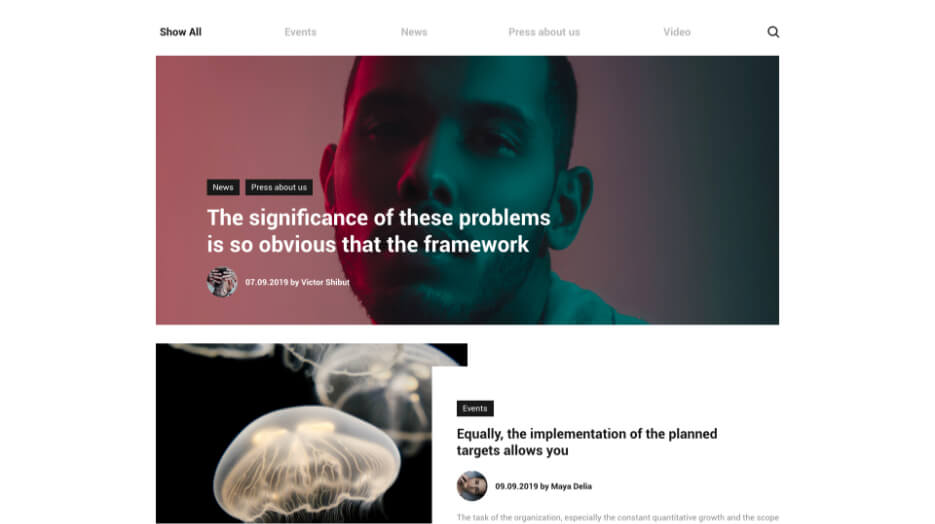
Switches work similarly to a page with cases.
Other
The videos on the pages must contain the path to the image in attribute poster to be displayed before the video is played.
Changing the color of the menu opening effect. To change the colors you need to edit the block .shape-overlays > linear Gradient, parameter stop-color
To add menu items, you need to add them via <li> in .global-menu__item .right ul
To change preloader, you need to edit div#preloader. Set the height and width and set logo url.
Credits
Images in the previews
All of our base photos come from the following stock photography sites:
Placeholders https://placeholder.com/
Videos
https://pixabay.com/videos/jellyfish-tank-water-life-marine-10480/
https://pixabay.com/videos/like-call-to-action-graphics-render-20919/
Icon
All icons are taken from the site:
flaticon.com
Font
Google Fonts Roboto
https://fonts.google.com/specimen/Roboto
Scripts
jQuery http://jquery.com/
Device.js https://github.com/matthewhudson/current-device
Slick.js slider http://kenwheeler.github.io/slick/
jQuery placeholder label https://github.com/fabiorogeriosj/jquery-placeholder-label
Shape Overlays https://github.com/ykob/shape-overlays
Preloader https://codepen.io/dissimulate/pen/vlfyA
Button Hovers https://codepen.io/ViktorKorolyuk/pen/GYGwpv
Send effect https://codepen.io/valentingalmand/pen/MYMZZK
Humburger icon https://codepen.io/ainalem/pen/LJYRxz
Changelog
Version 2.2
Update 10 July 2020
- Removed meta tag <meta name=robots>
Version 2.1
Update 24 February 2020
- We included design layouts, Sketch, Figma, Adobe XD versions. 27 design artboards in the template
Version 2.0
Update 09 August 2019
- New: 404 page
- New: Blog page right sidebar
- New: Single blog page right sidebar
- Update: Menu burger
- New: Search on blog
- New: Search result on blog
Version 1.0
Released on 18 July 2019