Getting Started
Dolish | Documentation
Introduction
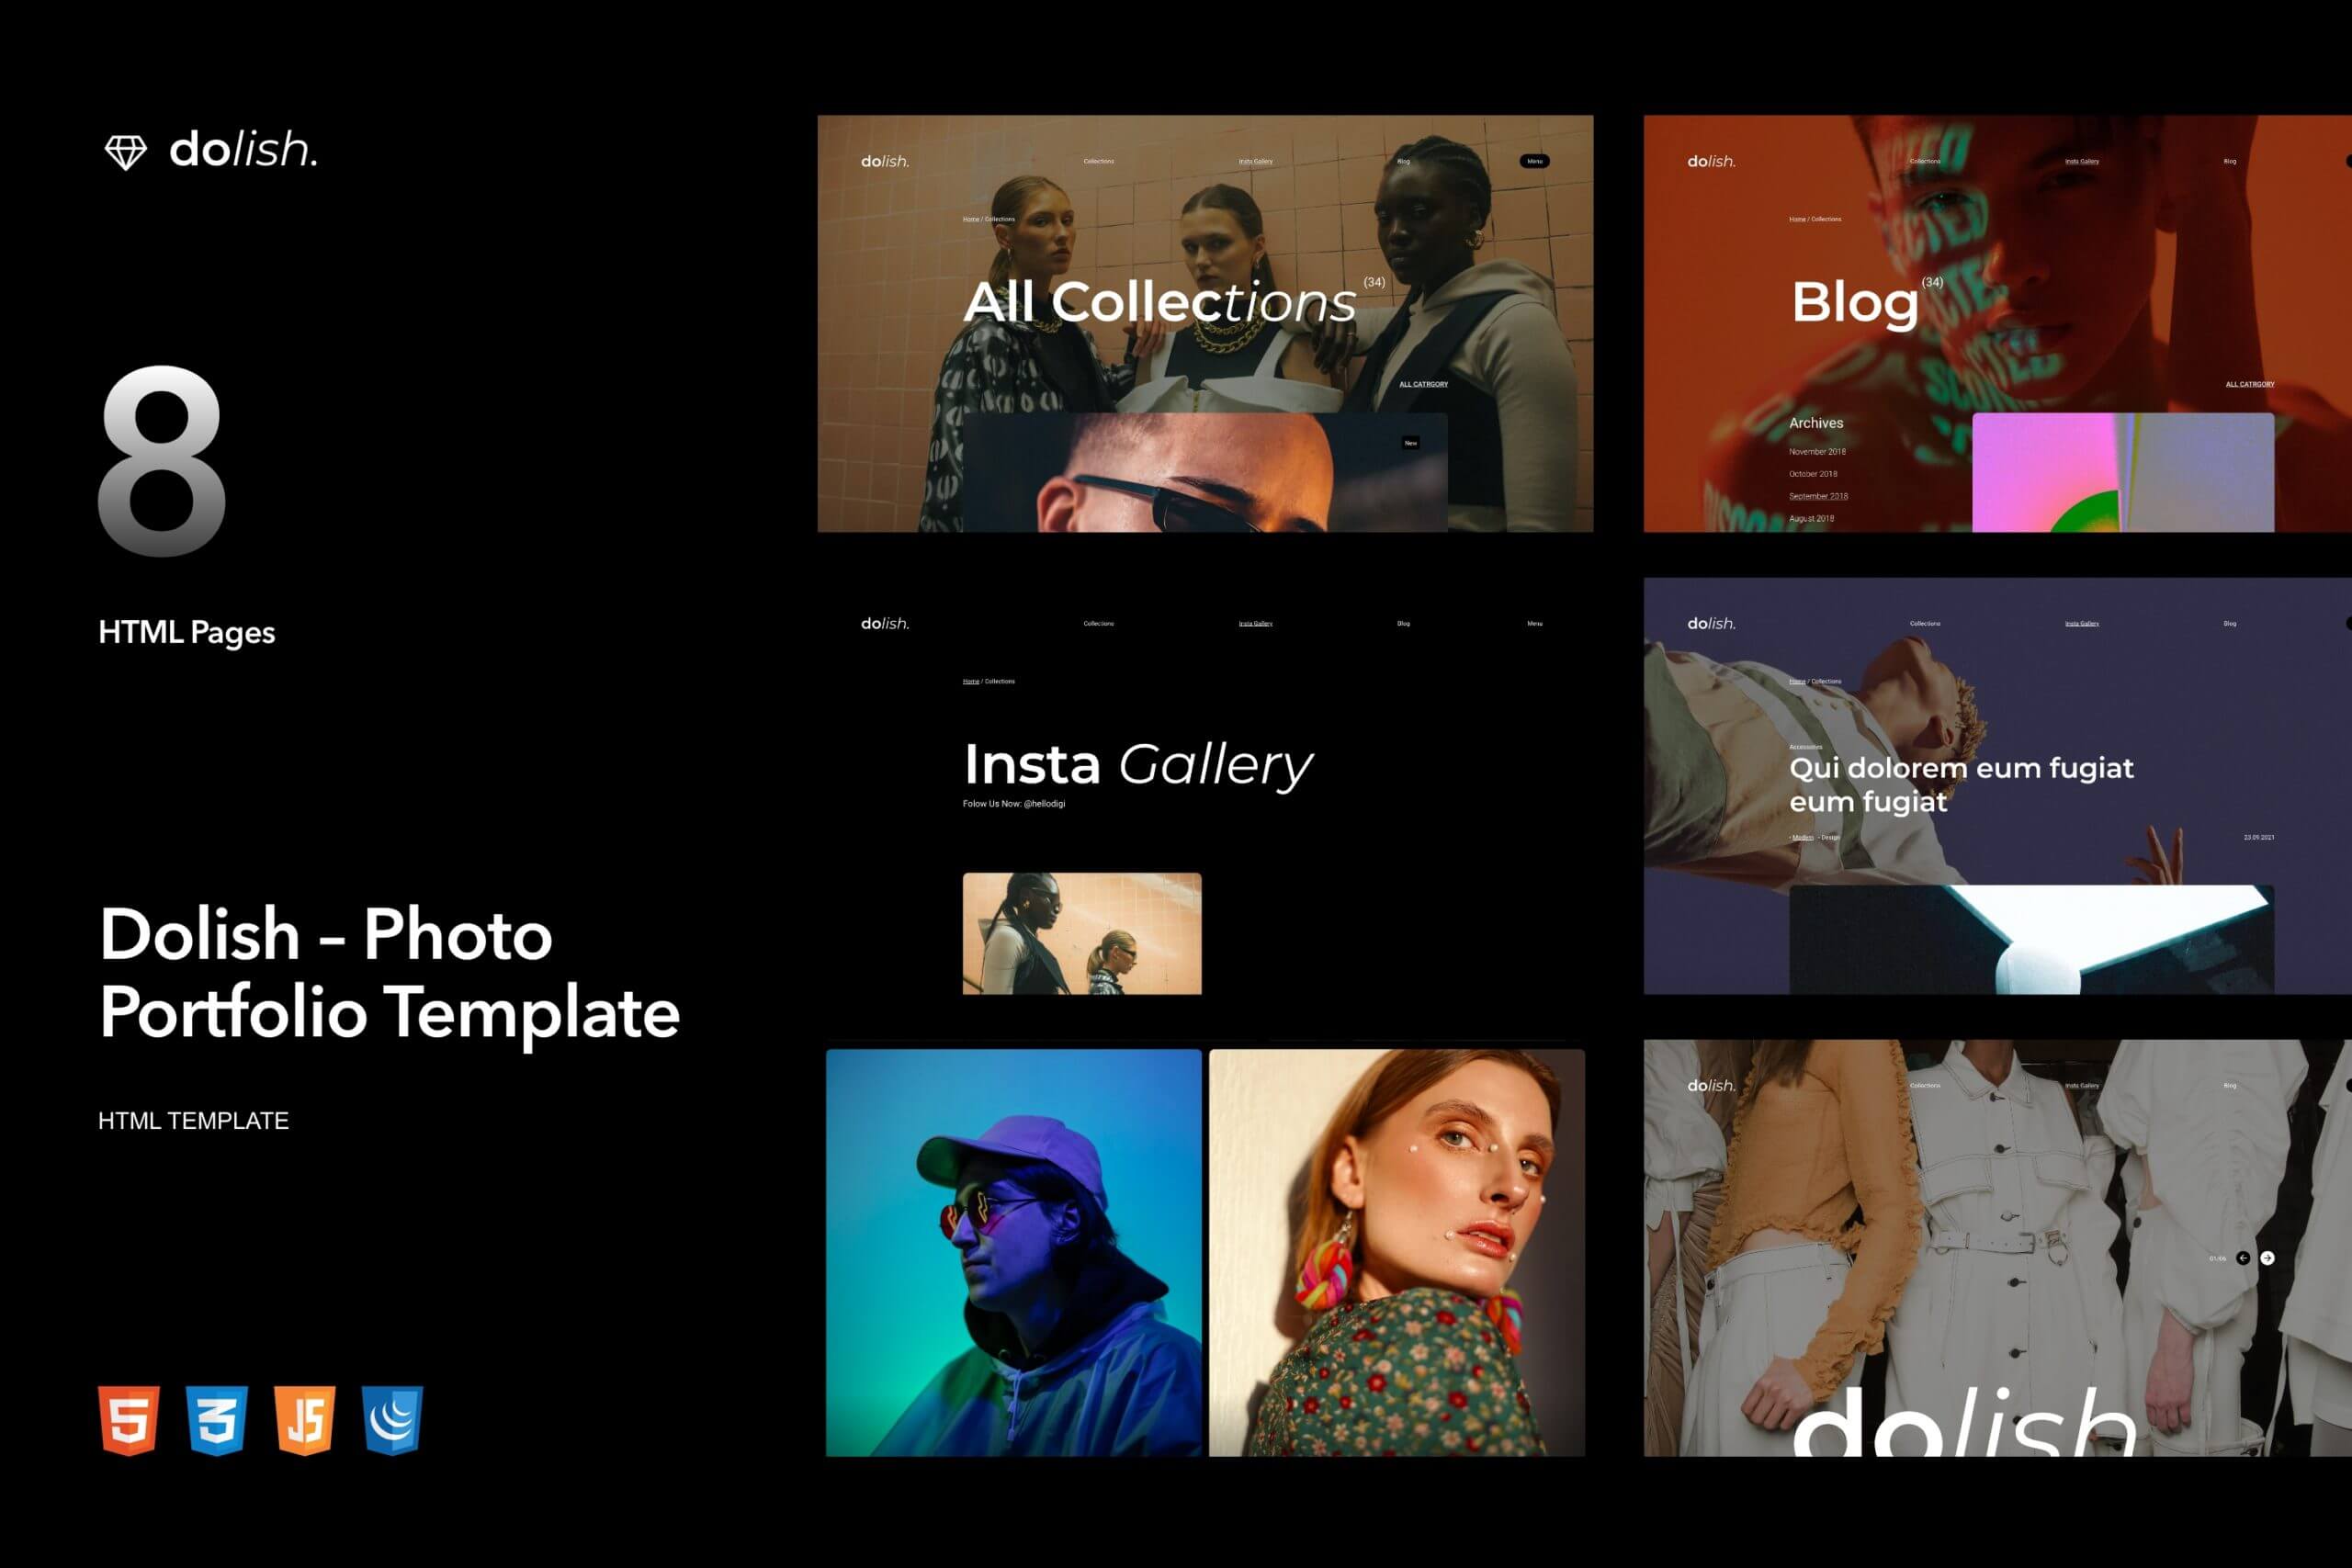
Dolish – Photography Portfolio HTML Template
The template is well designed for all modern photography sites. With the help of Dolish, your site looks even more attractive and impressive for your audience. The new photography portfolio concept for creative photographers, agencies and freelancers, graphic designers, illustrators or any kind of creative people can now quickly and easily create a portfolio to showcase their work with a special and creative approach.
Note: The images and videos used on the demo site are for demonstration purposes only and are not included in the download file.
Note: This is a HTML Template. Not a WordPress Theme. We will release it’s WordPress version soon.
Main Features
List Files:
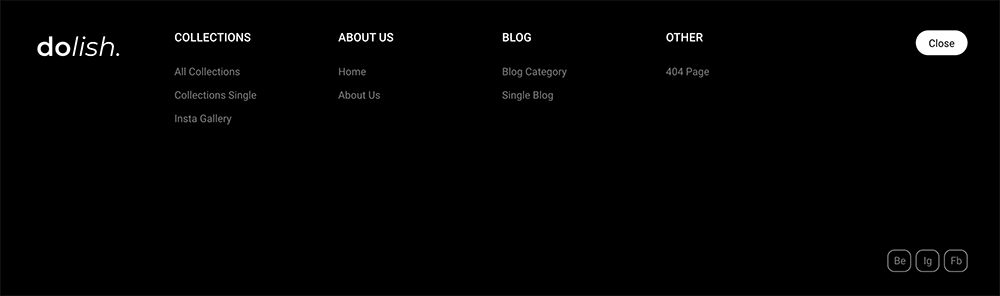
Home Page
Collection
Collection Single
About
Blog
Blog Single
404 Page
Insta Gallery
Menu Burger
Video Player
Slider
HTML5 and CSS 3
Clean, Creative, Modern & Beautiful Design
LESS
Fully Responsive, Compatible with all screen sizes
Well Organized Files
Well Commented Code
Easy Customization
Major Browsers compatibility
Well Documented
Google Fonts Used
W3C Valid Markup
24/7 Friendly & Quick Support
And Much More
Required Software
Text Editor
To modify this product you will require a text editor. There are a wide range of softwares out there that will do the trick but we would recommend Sumblime Text or Brackets.
Installation
Follow the steps below to setup your site template:
1. Unzip the downloaded package and open the /HTML folder to find all the template files. You will need to upload these files to your hosting web server using FTP in order to use it on your website.
FTP Client
To publish your website you will need an FTP client which is a software that will allow you to connect to and upload the HTML files to your server. We would recommend using something like FileZilla.
Connect Using FTP
In order to connect to your server using an FTP client you’ll need the following information:
- Host URL
- Username
- Password
Most hosts create an FTP account for you and commonly send out the above details in the welcome email when you sign up for a hosting plan. Others, require you to create an FTP account through your cPanel. If you have never set up an FTP account before, your host should be able to do this for you and answer any questions you may have.
Connecting using FTP
Below is an example of the FileZilla interface:

2. Below is the folder structure and needs to be uploaded to your website root directory:
- HTML/css. – Stylesheet files
- HTML/img. – Image files
- HTML/js. – Javacript files
3. You should upload all or specific HTML files as per your need.
4. You’re now good to go..! Start adding your content/images and generate your beautiful brand new website for your awesome users.
Edit Pages
Logo
We recommend using text format
<a href="index.html" class="logo"><b>fo</b><i>lish.</i></a>

Background screen

Backgound screen has a structure
<div class="bg-image">
    <picture class="picture image-cover">
        <source type="image/webp" srcset="img/main-img-2.webp" class="">
        <source type="image/jpeg" srcset="img/main-img-2.jpg">
        <img src="img/main-img-2.jpg" alt="">
    </picture>
</div>
The main page uses a slider as a background:
<div class="bg-image">
    <div class="bg-image-slider" id="js-bg-image-slider">
        <div class="slide">
            <picture class="picture image-cover">
                <source type="image/webp" srcset="img/main-img.webp" class="">
                <source type="image/jpeg" srcset="img/main-img.jpg">
                <img src="img/main-img.jpg" alt="">
            </picture>
        </div>
        <div class="slide">
            <picture class="picture image-cover">
                <source type="image/webp" srcset="img/main-img-2.webp" class="">
                <source type="image/jpeg" srcset="img/main-img-2.jpg">
                <img src="img/main-img-2.jpg" alt="">
            </picture>
        </div>
        <div class="slide">
            <picture class="picture image-cover">
                <source type="image/webp" srcset="img/main-img-3.webp" class="">
                <source type="image/jpeg" srcset="img/main-img-3.jpg">
                <img src="img/main-img-3.jpg" alt="">
            </picture>
        </div>
    </div>
</div>
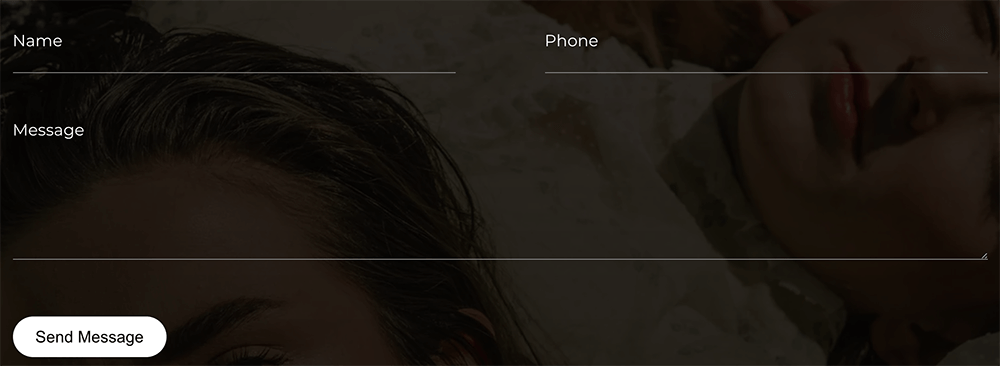
Posts
Posts have a non-standard grid:
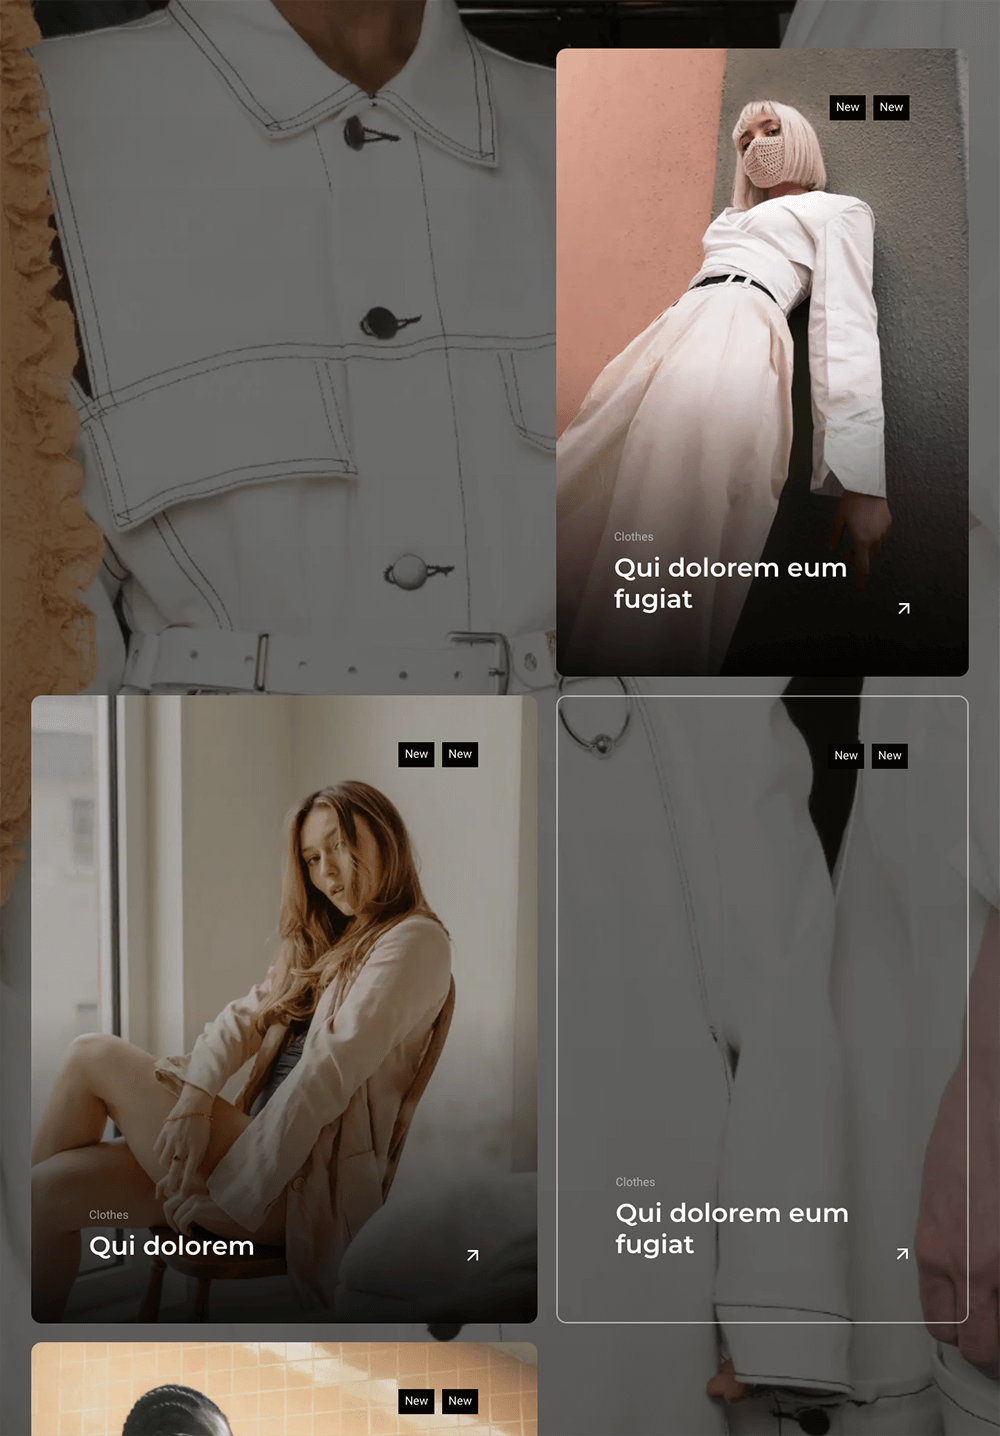
<div class="posts-list">
    <a href="collection-single.html" class="post-item">
        <div class="post-image">
            ...
        </div>
        <div class="post-item-head">
            ...
        </div>
        <div class="post-item-body">
            ...
        </div>
    </a>
    <a href="collection-single.html" class="post-item">
        <div class="post-image">
            ...
        </div>
        <div class="post-item-head">
            ...
        </div>
        <div class="post-item-body">
            ...
        </div>
    </a>
</div>
Posts without images must have “without-img” class.
Single Page
The main content of the post is pictures:
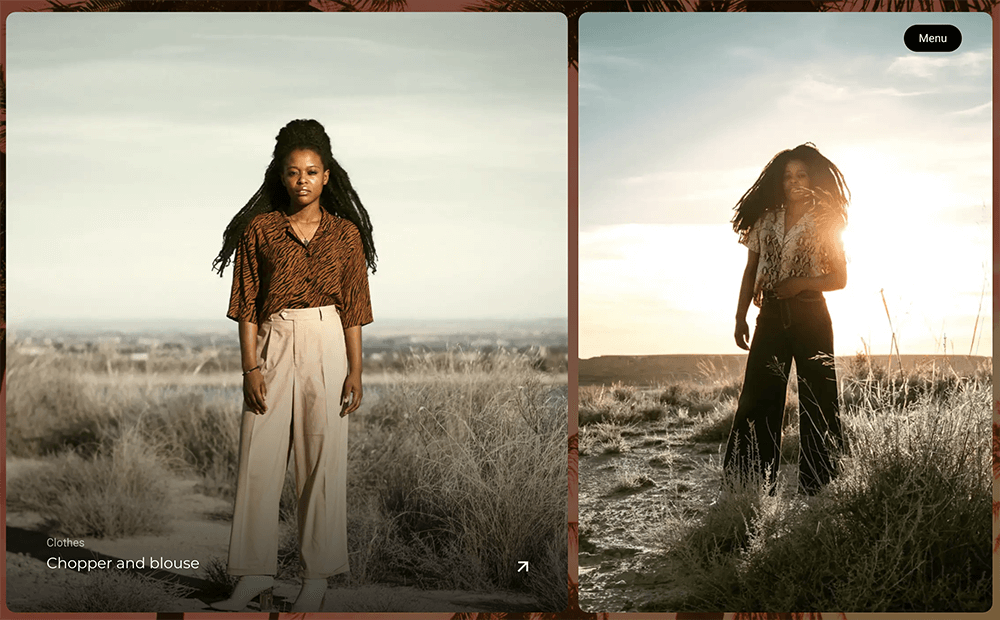
Each block with pictures has a structure:
<div class="collections-items first-large">
    <a href="#" class="collections-item">
        <div class="collections-item-image">
            <picture class="picture image-cover">
                <source type="image/webp" srcset="img/single-1.webp" class="">
                <source type="image/jpeg" srcset="img/single-1.jpg">
                <img src="img/single-1.jpg" alt="">
            </picture>
        </div>
        <div class="collections-item-info">
            <div class="_subtitle">Clothes</div>
            <h3 class="_title">Chopper and blouse</h3>
        </div>
    </a>
    <div class="collections-item">
        <div class="collections-item-image">
            <picture class="picture image-cover">
                <source type="image/webp" srcset="img/single-2.webp" class="">
                <source type="image/jpeg" srcset="img/single-2.jpg">
                <img src="img/single-2.jpg" alt="">
            </picture>
        </div>
    </div>
</div>
And each div.collections-items has unique class that is responsible for rendering the mesh. It can be such as first-large, first-small, fullwidth and slider
Insta Gallery

Insta Gallery has a structure:
<div class="gallery-items">
    <a class="gallery-item instagram-item">
        <div class="gallery-item-image">
            ...
        </div>
        <div class="gallery-item-info">
            <p>
                ...
            </p>
        </div>
    </a>
    <a class="gallery-item instagram-item">
        <div class="gallery-item-image">
            ...
        </div>
        <div class="gallery-item-info">
            <p>
                ...
            </p>
        </div>
    </a>
</div>
Credits
Images and video previews
All of our base photos come from the following stock
photography sites:
http://unsplash.com/
https://pixabay.com
Note: Demo images are not included, instead placeholder images are used.
Changelog
Uploaded 14.07.2021