Thank you!
Soon we will answer your question
Cora HTML

Getting Started
Cora – Responsive Sport Clubs HTML Template | Documentation
Introduction
Cora – website template muscled for modern trend, gyms, sport club or fitness center and personal trainers! Fully responsive layout that looks great on mobile and tablet devices. Effective Skins, easy to edit. Mega pack template for your website to impress your site visitors!
Note: The images and videos used on the demo site are for demonstration purposes only and are not included in the download file.
Note: This is a HTML Template. Not a WordPress Theme. We will release it’s WordPress version soon.
Main Features
List Files:
Home Light
Classes Light
Classes Single Light
Blog Light
Blog Single Light
Trainers Light
Trainers Single Light
About Light
Contacts Light
FAQ Light
Price Light
Shedule Light
Sitemap Light
Static page Light
Vacancies Light
Search Results Light
Search Results No found Light
Home Dark
Classes Dark
Classes Single Dark
Blog Dark
Blog Single Dark
Trainers Dark
Trainers Single Dark
About Dark
Contacts Dark
FAQ Dark
Price Dark
Shedule Dark
Sitemap Dark
Static page Dark
Vacancies Dark
Search Results Dark
Search Results No found Dark
Search
Menu Burger
Slider
HTML5 and CSS 3
Clean, Creative, Modern & Beautiful Design
LESSt
Fully Responsive, Compatible with all screen sizes
Well Organized Files
Well Commented Code
Easy Customization
Major Browsers compatibility
Well Documented
Google Fonts Used
Integrated Google Maps
W3C Valid Markup
Integrated Custom Image and video Slider
24/7 Friendly & Quick Support
And Much More
Required Software
Text Editor
To modify this product you will require a text editor. There are a wide range of softwares out there that will do the trick but we would recommend Sumblime Text or Brackets.
Installation
Follow the steps below to setup your site template:
1. Unzip the downloaded package and open the /HTML folder to find all the template files. You will need to upload these files to your hosting web server using FTP in order to use it on your website.
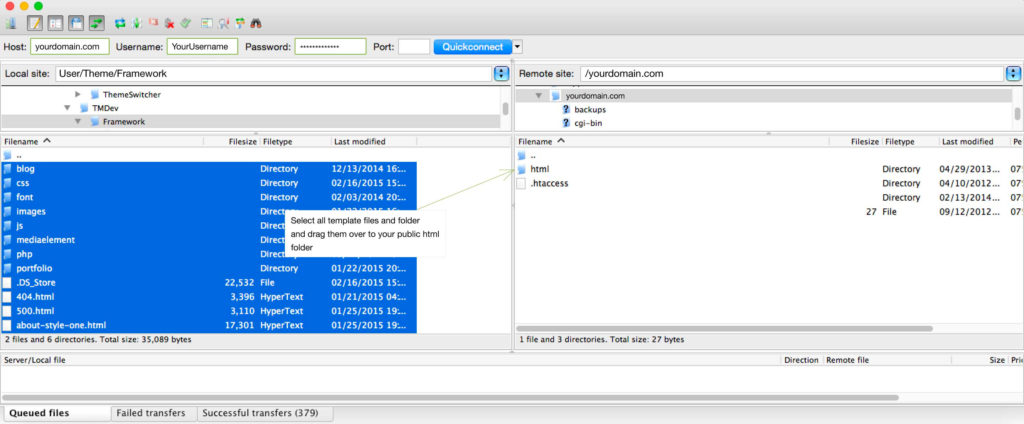
FTP Client
To publish your website you will need an FTP client which is a software that will allow you to connect to and upload the HTML files to your server. We would recommend using something like FileZilla.
Connect Using FTP
In order to connect to your server using an FTP client you’ll need the following information:
- Host URL
- Username
- Password
Most hosts create an FTP account for you and commonly send out the above details in the welcome email when you sign up for a hosting plan. Others, require you to create an FTP account through your cPanel. If you have never set up an FTP account before, your host should be able to do this for you and answer any questions you may have.
Connecting using FTP
Below is an example of the FileZilla interface:
2. Below is the folder structure and needs to be uploaded to your website root directory:
- HTML/css. – Stylesheet files
- HTML/img. – Image files
- HTML/js. – Javacript files
3. You should upload all or specific HTML files as per your need.
4. You’re now good to go..! Start adding your content/images and generate your beautiful brand new website for your awesome users.
Edit Pages
Menu
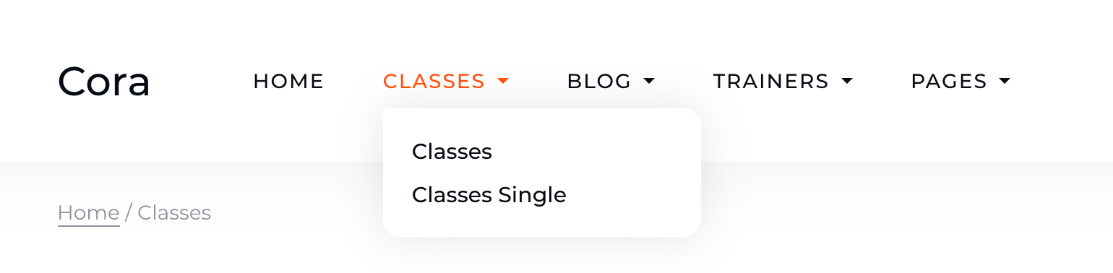
The menu has the structure:
<ul id="menu-ul">
    <li>
        <a href="/"><span>Link 1</span></a>
    </li>
    <li class="dropdown_li">
        <a href="#"><span>Link 2</span></a>
        <ul class="dropdown_ul">
             <li><a href="#">Link 2.1</a></li>
             <li><a href="#">Link 2.2</a></li>
        </ul>
    </li>
    <li>
        <a href="#"><span>Link 3</span></a>
    </li>
</ul>
An item that has a drop-down menu must have a dropdown_li class.
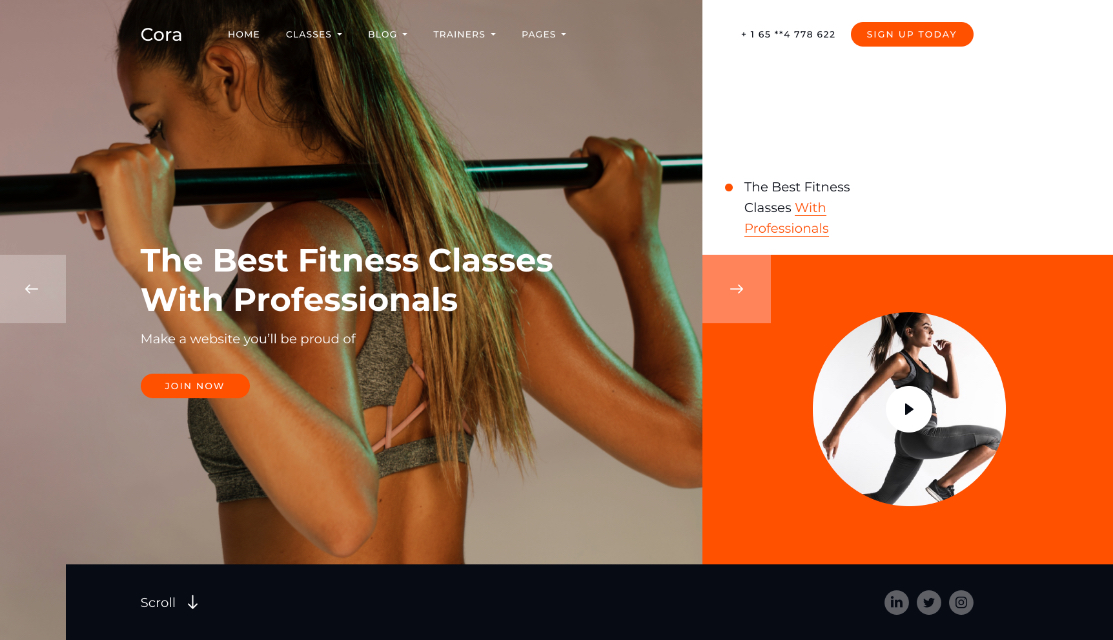
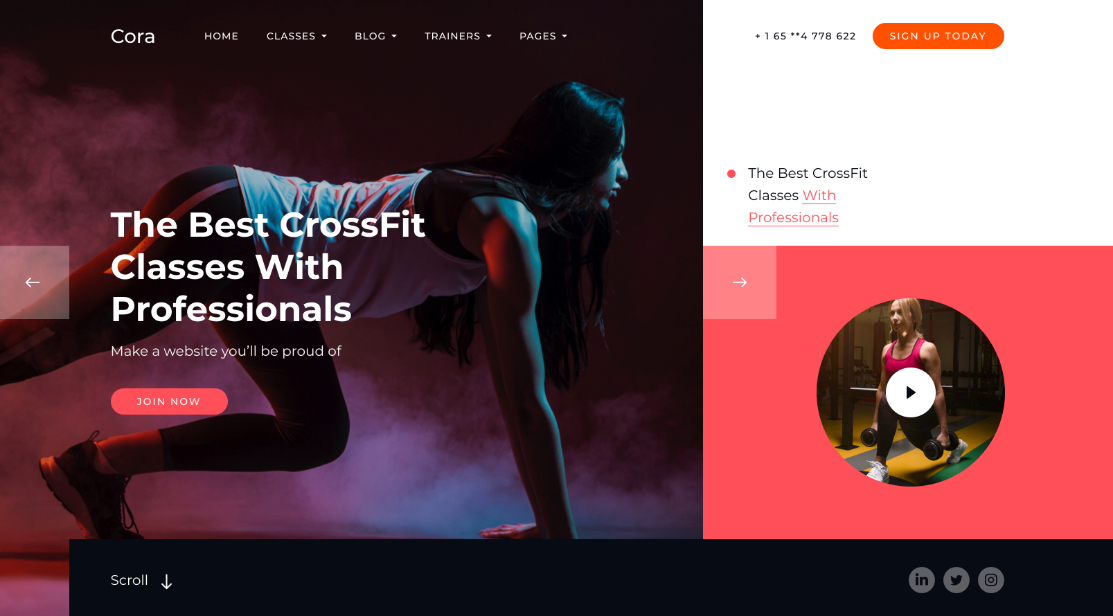
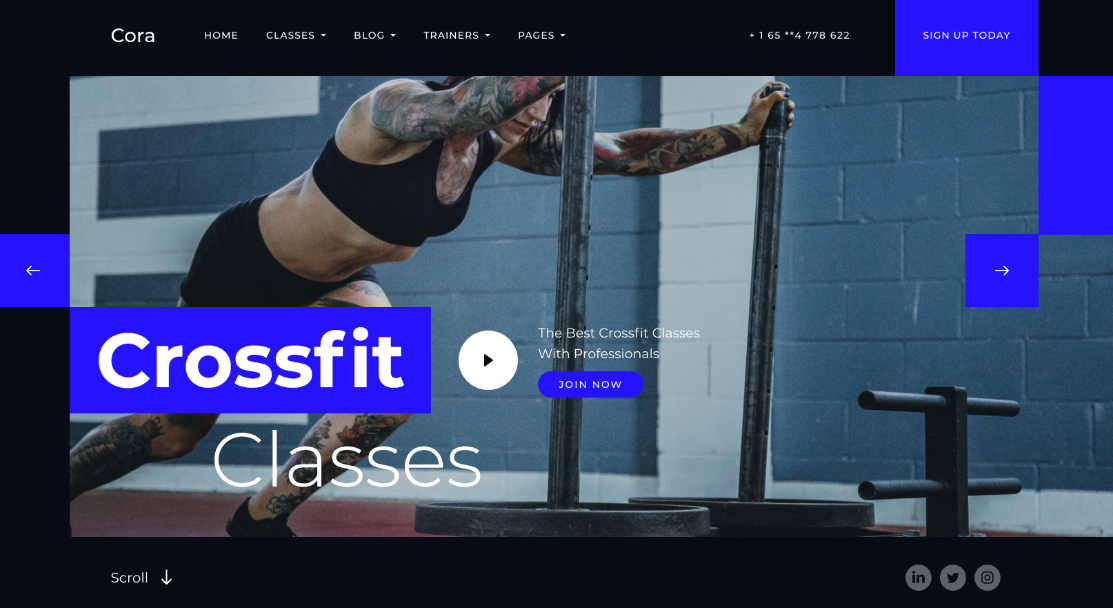
Main Slider
The main slider has the structure:
<div class="slide" data-color="#FF5100" data-color-type="dark">
…
</div>
Each slide has its own individual color, which is specified in the data-color attribute.
Also, each slide has the property “dark” color or “light” color. This property is specified in the data-color-type attribute.
The default property is “dark”. With this property, the color of the text in the slide is white. If you set the parameter “light” then the color of the text in the slide will be black.
You should set the color only in the data-color attribute. Further color setting will be done automatically.
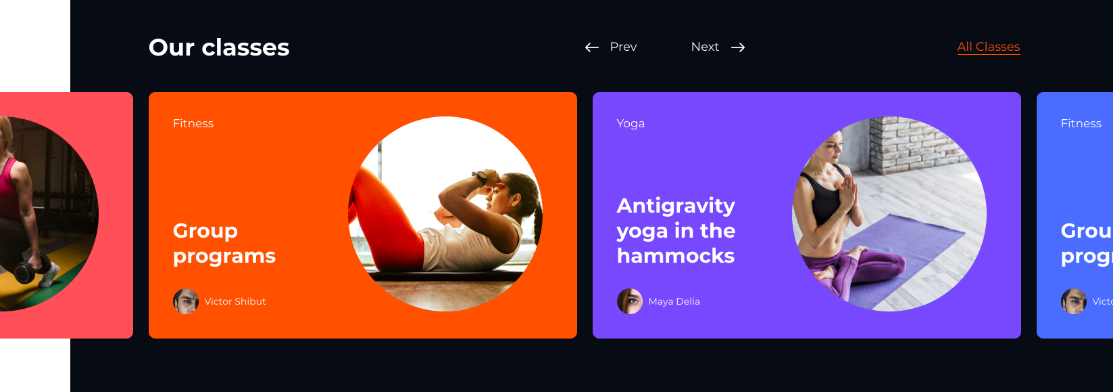
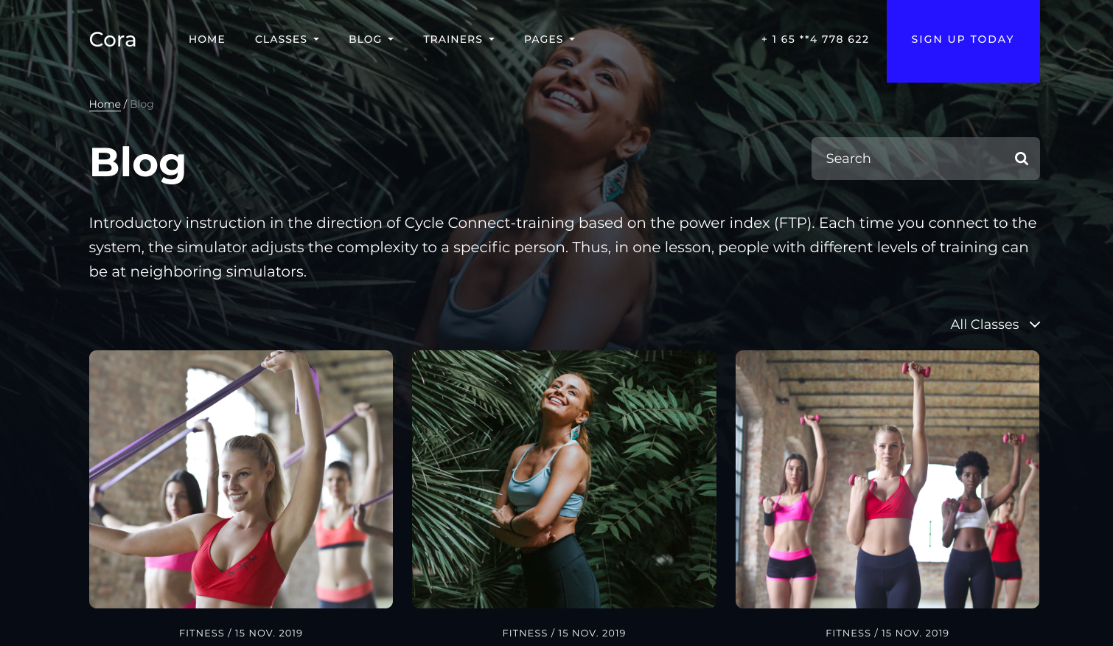
Classes posts
The classes slider has the structure:
<a href="classes-single.html" class="slide classes_item" style="background-color: #FF5100" data-color-type="dark">
…
</a>
Similar to the “main slider” there are data-color-type parameters and a custom color, which is specified in the style attribute.
The background image is set automatically.
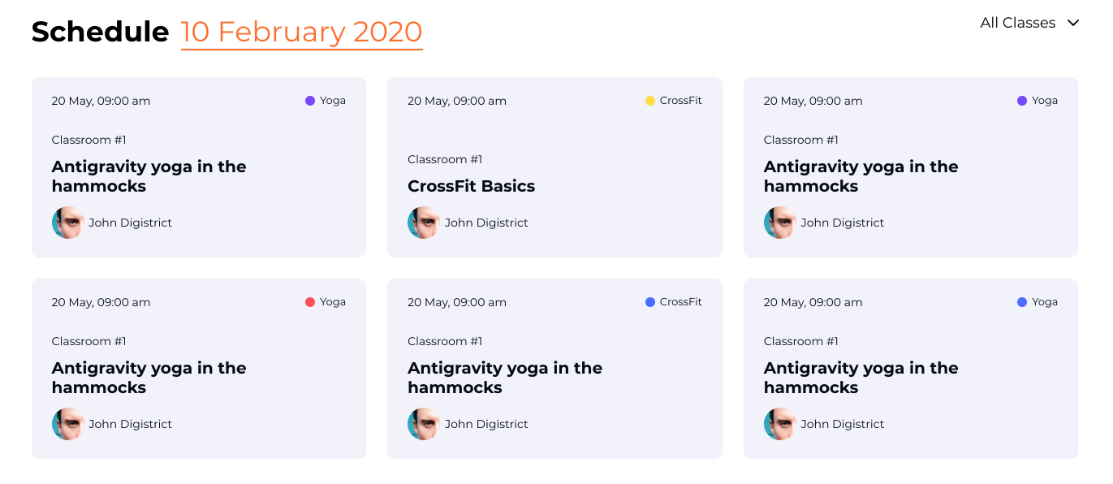
Shedule
The shedule section has the structure:
<div class="item" data-color="#7749FF" data-color-type="dark">
…
</div>
Similar to the “main slider” there are data-color-type and data-color parameters.
You should set the color only in the data-color attribute. Further color setting will be done automatically.
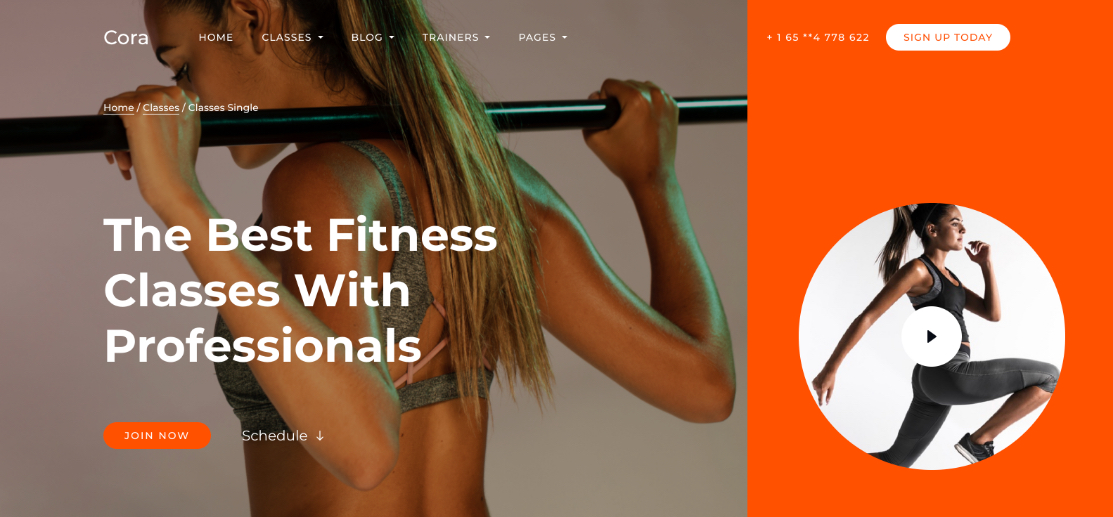
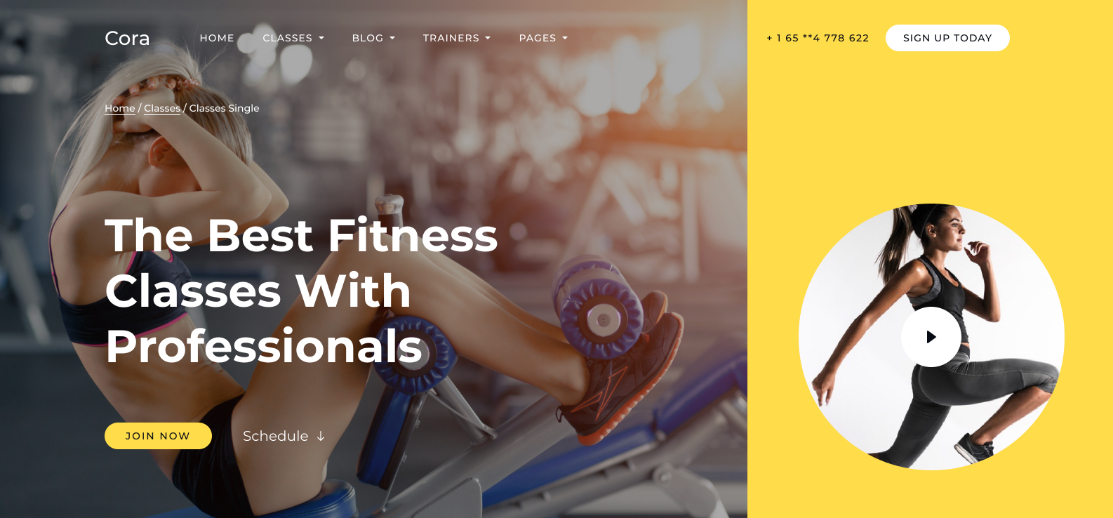
“Classes Single” page
Each page can have its own color, which is set only once in the data-color attribute
<body data-color="#FF5100" data-color-type="dark">
…
</body>
The date-color-type attribute is also set.
You should set the color only in the data-color attribute. Further color setting will be done automatically.
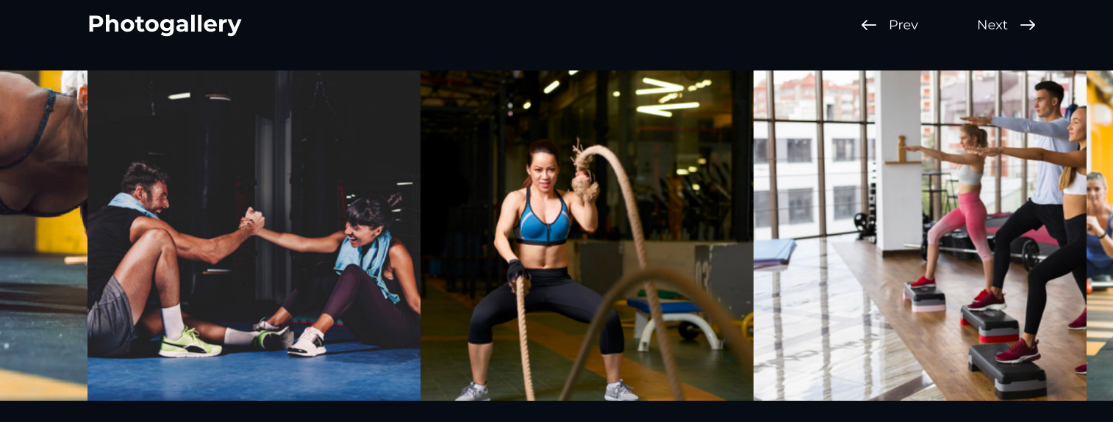
Gallery
The gallery section has the structure:
<div class="photo-slider hidden-scroll lightgallery" id="photo-slider">
    <a href="img/pic-1.jpg" class="slide-item ie-img">
        <img src="img/pic-1.jpg" alt="">
    </a>
    <a href="img/pic-2.jpg" class="slide-item ie-img">
        <img src="img/pic-2.jpg" alt="">
    </a>
</div>
Each element in the gallery must contain a link to the full image via href and the parent div must have a class lightgallery
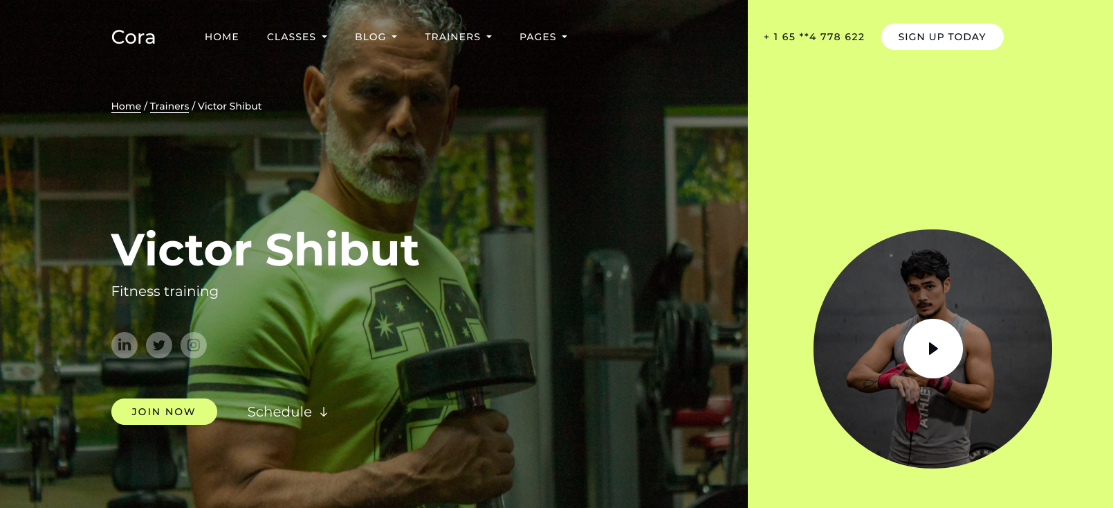
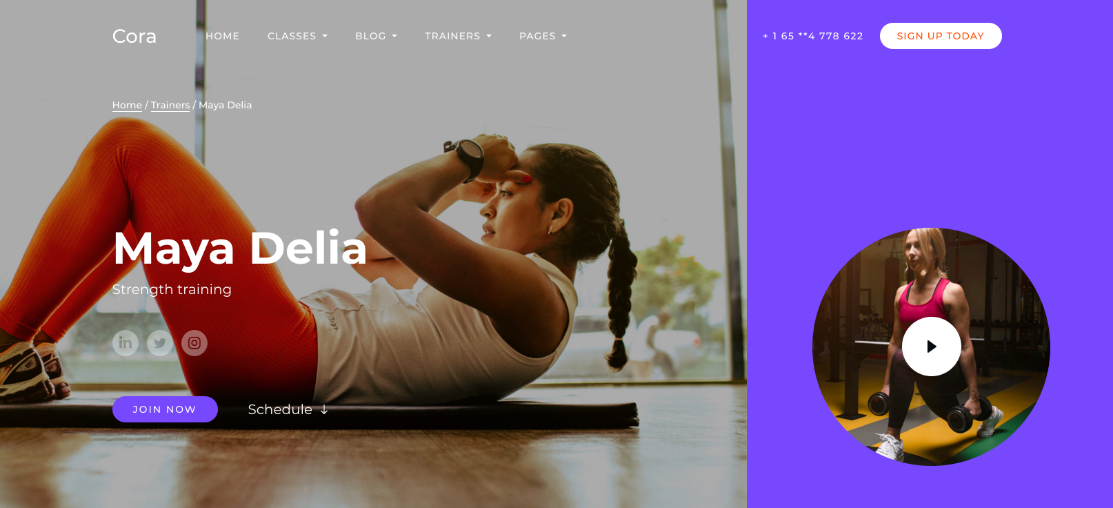
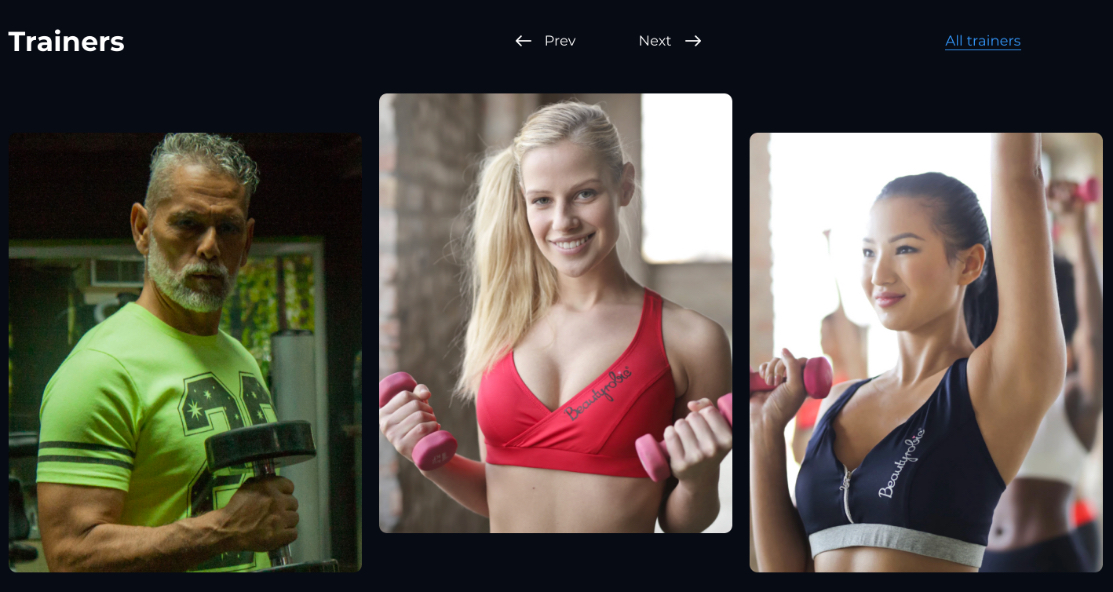
Trainer Page
Each page can have its own color, which is set only once in the data-color attribute
<body data-color="#FF5100" data-color-type="dark">
…
</body>
The date-color-type attribute is also set.
You should set the color only in the data-color attribute. Further color setting will be done automatically.
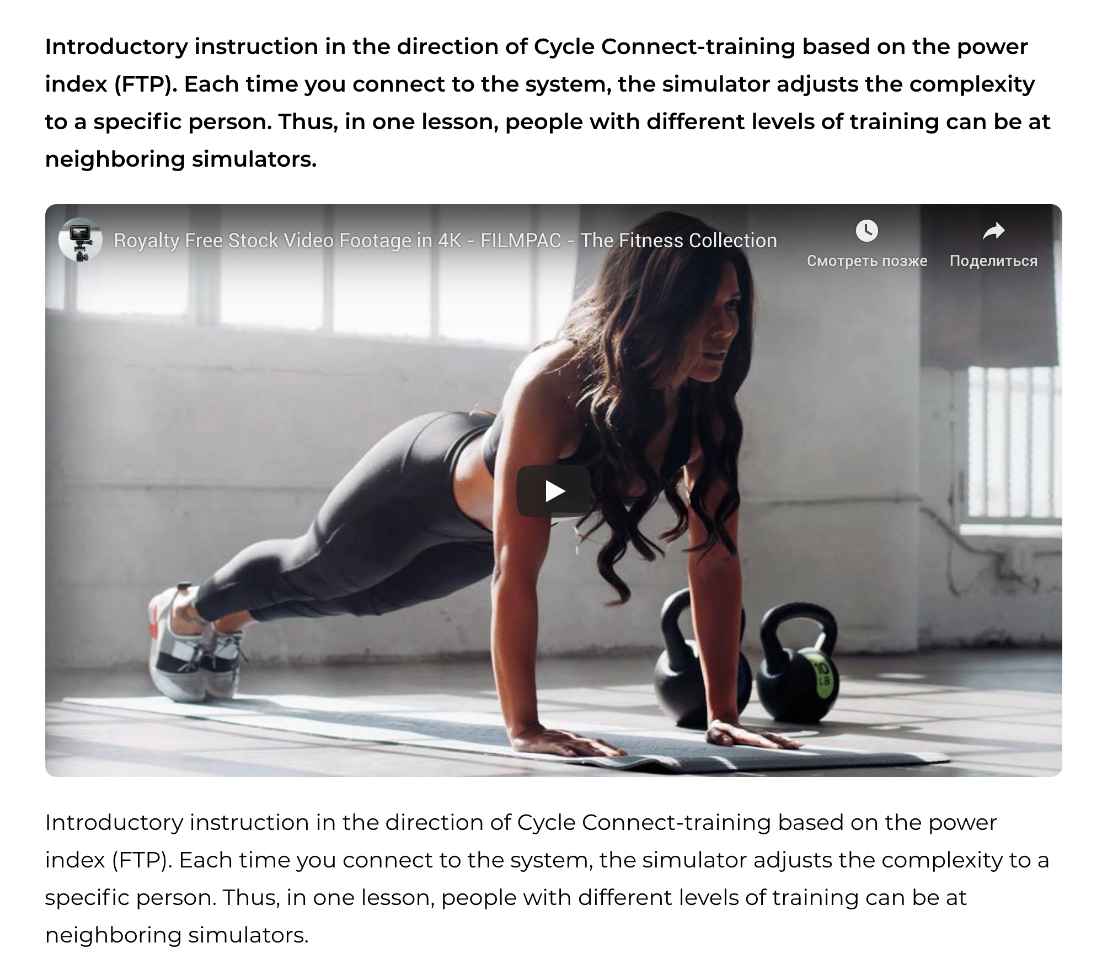
Blog Single Page
To insert a video on a page, use the following structure:
<div class="video">
    <iframe width="" height="" src="https://www.youtube.com/embed/XEwYuqMWo8U?rel=0" allowfullscreen></iframe>
</div>
To divide the text into two columns, use the following structure:
<div class="two_colums">
    <div class="column">
        …
    </div>
    <div class="column">
        …
    </div>
</div>

To insert a slider on a page, use the following structure:
<div class="slider">
    <div class="slide ie-img">
        <img src="img/about-2.jpg" alt="">
    </div>
    <div class="slide ie-img">
        <img src="img/about-1.jpg" alt="">
    </div>
</div>

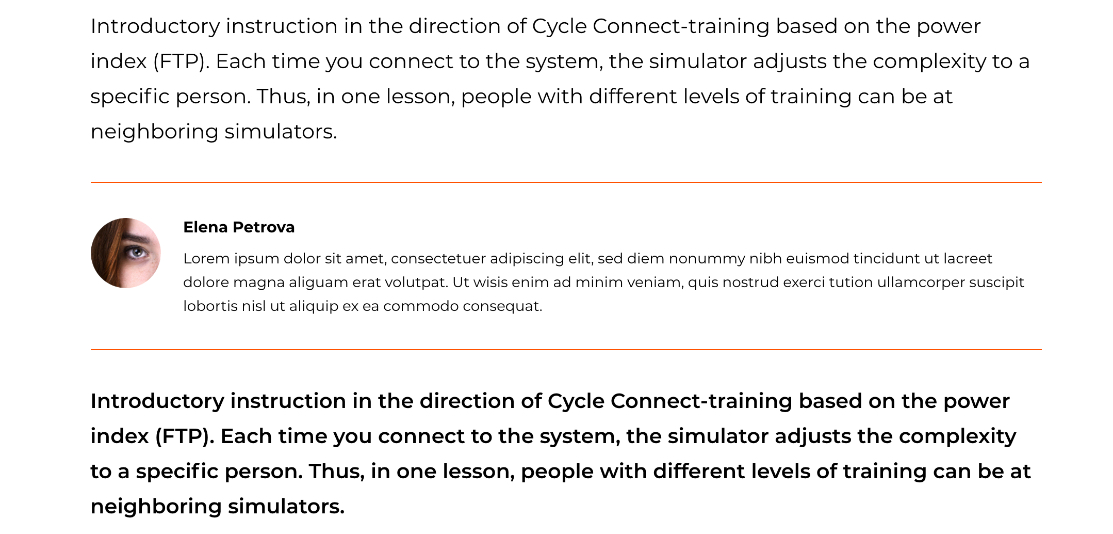
To insert a quote on a page, use the following structure:
<blockquote>
   <div class="img">
       <img src="img/trainer_1.jpg" alt="">
   </div>
   <p class="name">Elena Petrova</p>
   <p>...</p>
</blockquote>
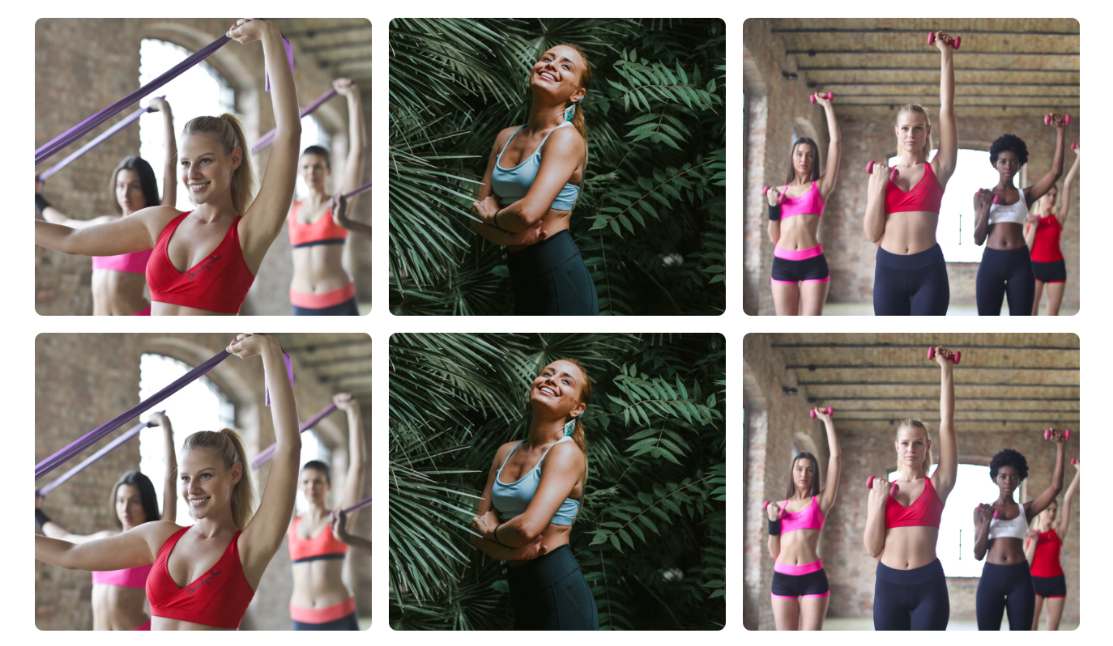
To insert a images gallery on a page, use the following structure:
<div class="images lightgallery">
    <a href="img/blog-1.jpg" class="img ie-img">
        <img src="img/blog-1.jpg" alt="">
    </a>

    <a href="img/blog-2.jpg" class="img ie-img">
        <img src="img/blog-2.jpg" alt="">
    </a>

    <a href="img/blog-3.jpg" class="img ie-img">
        <img src="img/blog-3.jpg" alt="">
    </a>
</div>
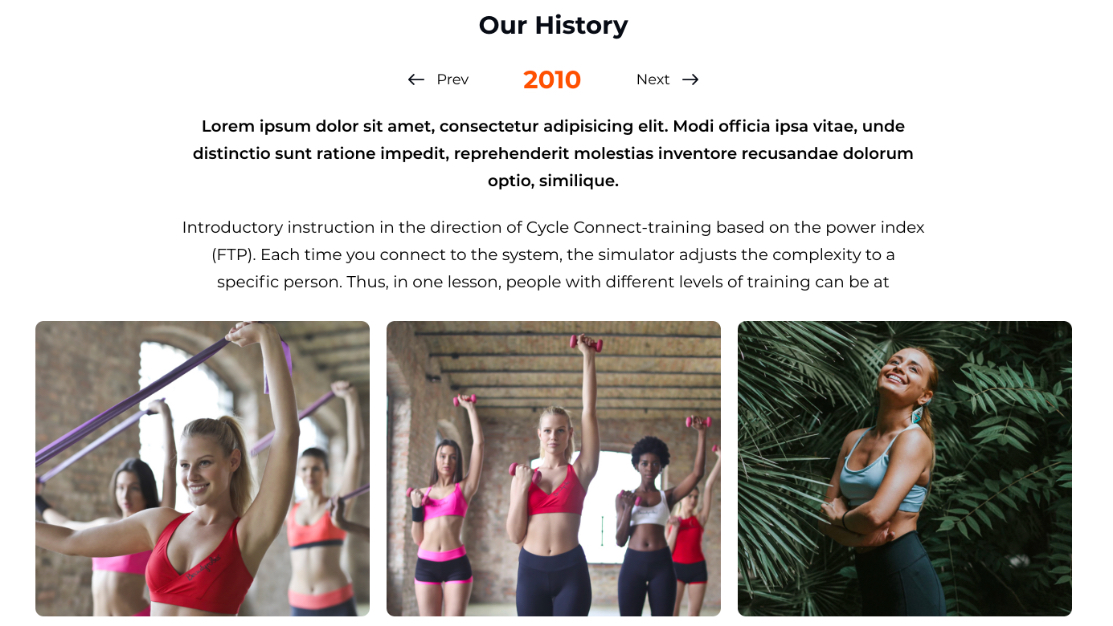
“About us” page
The stories block consists of slides and switches.
<div class="year">
   <div class="year-item">2009</div>
   <div class="year-item active">2010</div>
   <div class="year-item">2011</div>
</div>
<div class="history-content" id="history-content">
<div class="_content content">…</div>
<div class="_content content active">…</div>
</div>
Slides and switches should be the same number. The slide that appears at boot should be marked with the active class, and a similar switch should also be marked.
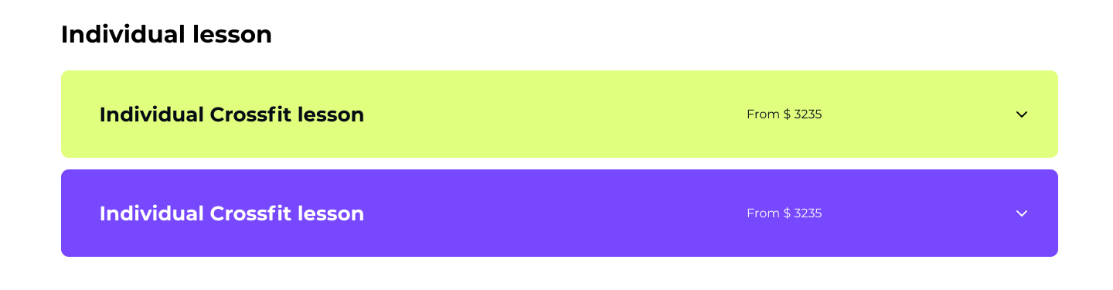
“Prices” page
Lessons accordion
Each category of lessons has its own color.
<div class="accordion-item js-price-item" data-color="#7749FF" data-color-type="dark">
…
</div>
The color is set in the data-color and data-color-type attribute.
You should set the color only in the data-color attribute. Further color setting will be done automatically.
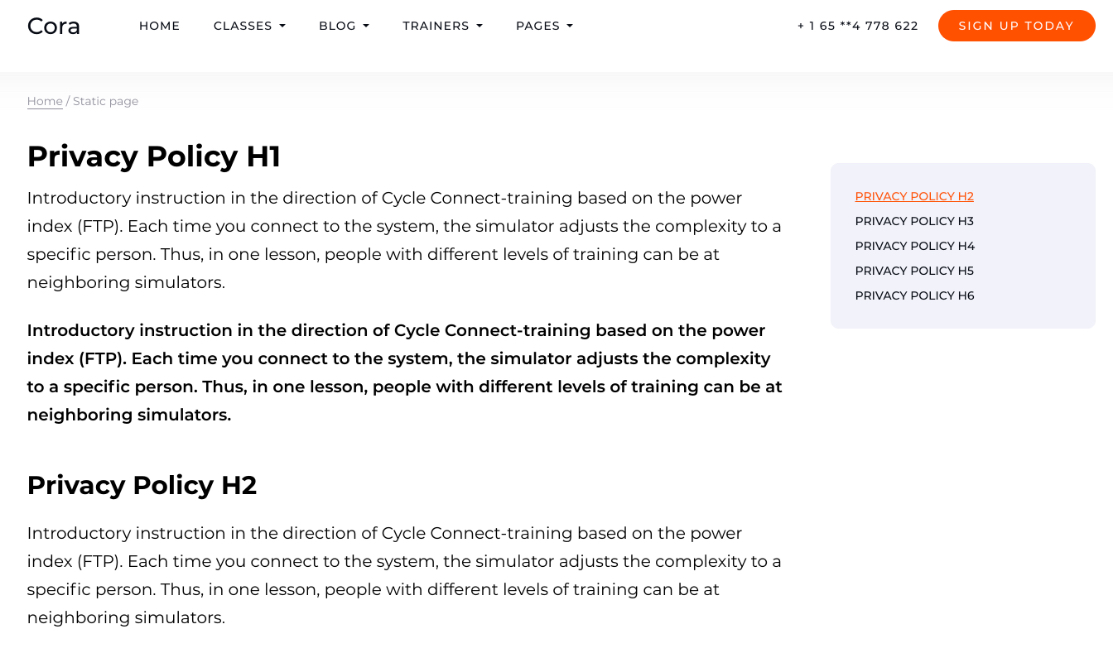
Static page
In a static page, each block is placed in the side navigation automatically. To do this, each section must be placed in a container:
<div class="js-section" data-title="Privacy Policy H2">
   <h2>Privacy Policy H2</h2>
   <p>…</p>
</div>
The data-title attribute specifies the name of the link in the side navigation.
Other settings
Dark version
In the dark version of the slider with trainers and with rewards, it is recommended to contain an even number of slides.
In slider on main page you should use short title with 2 or 3 words, because using more words there may be problems.
Each inner page has a background image, which is set in the div.page-bg-image.
<body class="dark-theme">
    <div class="page-bg-image">
       <img src="img/price-dark.jpg" alt="">
    </div>
….
Every block that contains an image (<img>) that has a property object-fit must have a class ie-img. This is necessary for correct display in IE
Opening modal video
We recommend using a video from YouTube.
The link to the video has the structure:
<a class="video_link getModal js-video" data-href="#video" data-src="XEwYuqMWo8U" style="background-image: url(img/video_link.jpg)">
    <div class="play-btn"></div>
</a>
Where data-src is the video code from YouTube.
For example: https://www.youtube.com/watch?v=XEwYuqMWo8U
Insert XEwYuqMWo8U into attribute data-src
The style=”background-image: url(img/video_link.jpg)“ is the image url that used as a preview.
Date setting
Date data is stored in the input.js_calendar (datepicker). On mobile version added via js input.mobile-date, which also transfers data to input.js_calendar. Each version duplicates data in hidden input.input-date-value. For development you should to use input.js_calendar
<input type="text" class="js_calendar input-date">
<input type="hidden" value="" class="input-date-value">

All the settings you can see on line 170 (scripts.js).
Other moments
In scripts.js please remove a code with comment //temp scripts in the end of the document
All content that is displayed on the internal page from the admin panel (classes-single page, blog single page, trainer page) should be placed in a div.content
This is necessary for the correct display of elements like ul, ol, h2, h3 ect.
Credits
Images in the previews
All of our base photos come from the following stock photography sites:
http://unsplash.com/
https://ru.freepik.com/
Note: Demo images are not included, instead placeholder images are used.
Icon
All icons are taken from the site:
https://flaticon.com
Fonts
Google Fonts Montserrat
https://fonts.google.com/specimen/Montserrat
Scripts
jQuery http://jquery.com/
Slick.js slider http://kenwheeler.github.io/slick/
jQuery UI https://jqueryui.com/
Device.js https://github.com/matthewhudson/current-device
lightGallery.js https://sachinchoolur.github.io/lightGallery/
jQuery.arcticmodal http://arcticlab.ru/arcticmodal/
Changelog
Version 1.0
Released on 11 February 2020
Update
14 February, 2020 – Fixed bugs iPad Pro version